
Now, let’s set up a GitHub account by following these steps:
Step 1: Visit GitHub site.

Step 2: Choose a plan and create an account (you can start with the free one).

Step 3: Verify your email address and you are done.
How to configure Git with GitHub
Once you have successfully installed Git on your system and has setup GitHub account, the next thing is to configure Git.
To do this use the following two commands by replacing “user_name” with your GitHub username and replacing “email_id” with the Email ID you used to create the GitHub account.
git config --global user.name "user_name"
git config --global user.email "email_id"
The following image shows an example of GitHub configuration:

Now you are ready to start using Git on your computer!
Workflow of Git and how it works
A key point when discussing how to work with Git is that there is no single valid workflow. But to have a look at one which hopefully fits every beginner’s Git user is as follows:
Git workflow generally consists of four steps:
Step 1: Do work on your local repository
Step 2: Add files to your stage
Step 3: Commit the stage
Step 4: Push to your remote repository
Essentially, when using Git, you make changes to your code files as you normally would during the development process.
When you have completed a coding milestone, or want to snapshot certain changes, you add the files you changed to a staging area and then commit them to repository using Git.
❗ Remember few key terms
1) Repository: You can think of a repository (aka repo) as a “master folder”, everything associated with a specific project should be kept in a repository for that project.
But do remember, repository can have folders within them, or just be separate files.
2) Remote repo & Local repo: The URL where you store your files is called a remote repo and a copy on the computer you are working with is called your local repo.
3) Push & Pull: In Git terminology, uploading is to push – you are “pushing” your files to the remote repo. And downloading is to pull – you are “pulling” files from a remote repo onto your local repo.
Don’t worry, if these words seem alien to you, you will soon understand these terms once we start using Git for real.
How to create a local Git repository
To get started, you can create a directory on your computer and cd into the directory you created.
$ mkdir hello_sunil
$ cd hello_sunil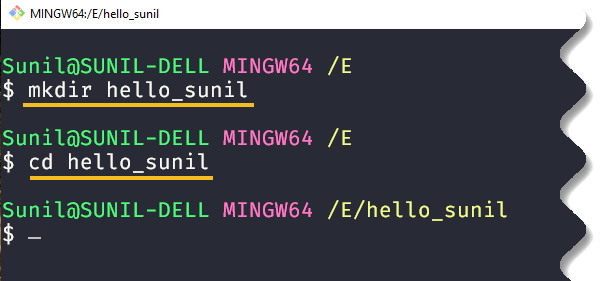
Then check your Git configuration using the following command:
$ git config --list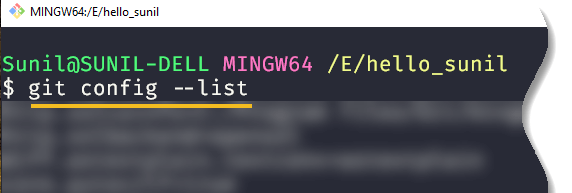
Afterwards to begin tracking files, first, you need to initialize Git inside the directory where you want to record changes. To do that type the command below in terminal.
$ git init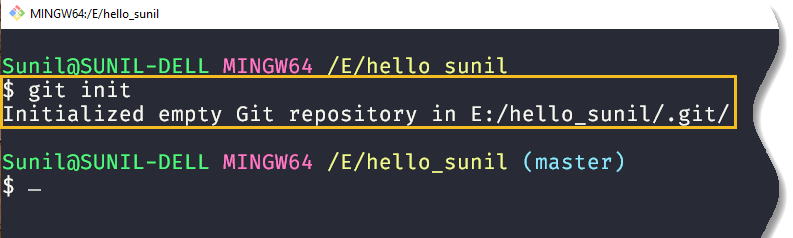
Once you run this command, Git creates a hidden .git directory inside the main directory of your project.
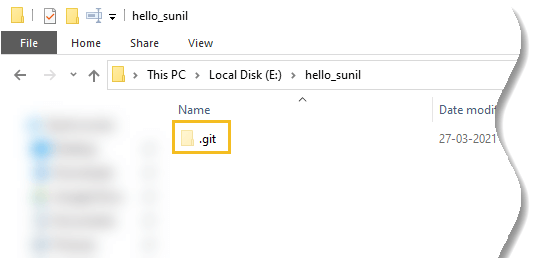
This directory and its files tracks the version history of your project and is what turns the project into a Git repository, enabling you to run Git commands on it.
As we move forward, you will be using the Git states analogy to know where you are in the Git state.
Git states analogy
Before get dirty your hands editing files, you have to know what Git states actually is. It is one of the most crucial things that a beginner needs to understand to use Git properly.
Files in a repository go through three stages before being under version control with Git and they are:
- Modified – You have changed the files but have not committed it to your database yet
- Staged – You have marked a modified file to go into your next commit snapshot
- Committed – The data is safely stored in your local database

💡 Note
If a particular version of a file is in the Git directory, it’s considered committed. If it has been modified and was added to the staging area, it is staged. And if it was changed since it was checked out but has not been staged, it is modified.
In addition to these three states, Git files live in one of three areas: the Working directory, Staging area, and the Git directory (aka your local repository).

The manipulation among all the above states occurs locally, meaning that the changes affect no one else’s current repository but yours.
- Working directory/tree: The current version of your project where you are making changes
- Staging Area(aka Index): The place where you stage your files when you are preparing them to commit
- Repository: When you commit, Git permanently saves only the changes from your staging area to the repository’s memory
How to add a new file to the repository
Let’s create a new file in the project directory named as readme.txt by using following command.
$ touch readme.txt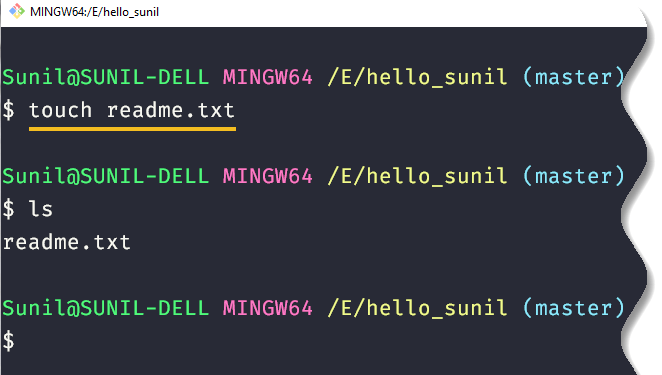
The file is now in the directory, but Git won’t officially keep track of the changes of the new file unless you explicitly tell it to. Now to check the status of your file in the directory, you need to use the following command:
$ git status This command you will be using the most while using Git. It shows the state of all the files inside your working directory.
You will receive the following message:
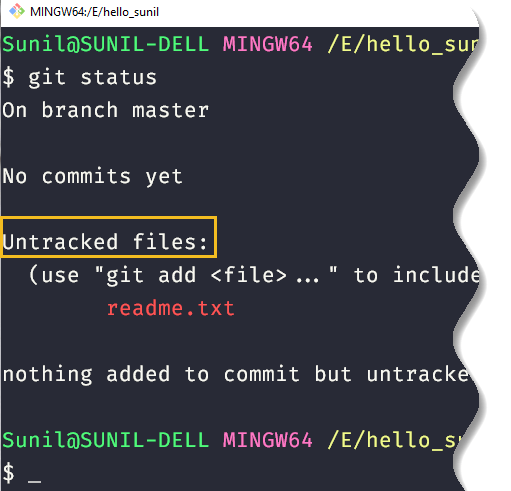
Notice the word Untracked; it means that Git hasn’t taken record of the file that you just created.
How to add a file to the staging area
To make Git notice your file you have to add them to the staging area with the following command.
$ git add readme.txt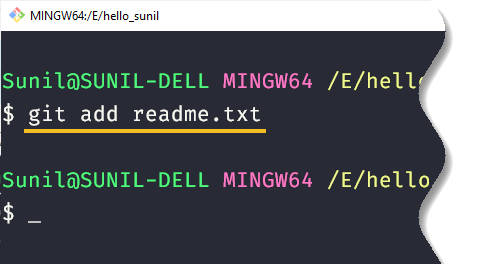
Once you add the file, it is in Staged state, meaning, it is ready to be committed. Let’s check out the file status now.
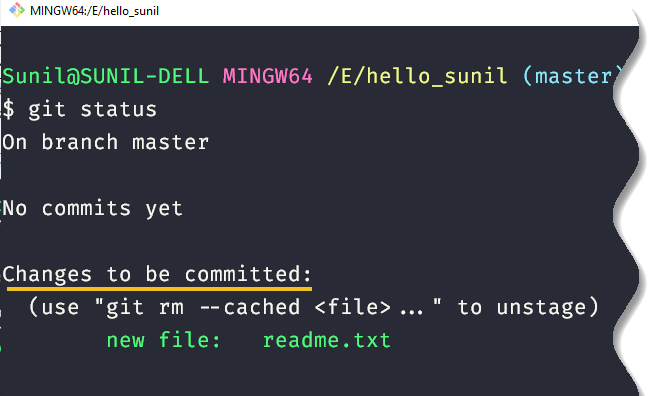
It says you have done all the significant changes you want, and now you want to save it.


Add comment