
Run the following command in your terminal:
mysql_secure_installation

How to work with MySQL server on RedHat Linux
Start the terminal and enter the following command:
mysql –version

If you get the MySQL version as shown in the output, then it means everything is working alright and you have successfully installed MySQL Server.
To login as a root user into the MySQL server use the following command:
mysql -u root -p

How to update MySQL on RedHat Linux
Besides fresh installation, you can also do updates for MySQL products and components with the help of the following command.
sudo yum update mysql-server

How to install MySQL Workbench on RedHat Linux
MySQL Workbench is a unified GUI (Graphical User Interface) and most useful visual tool for developers, database architects, and database administrators. It acts as a graphical frontend for MySQL databases.
MySQL Workbench for RedHat Linux have a number of great features which includes SQL editor, data modeling, ER diagramming, MySQL instance dashboard, Database migration and a wide-ranging administration tools for server configuration, user administration, data backup, and other useful tools.
Here are the steps to install MySQL Workbench on RedHat Linux:
Step 1: Visit MySQL community downloads page. Select operating system as “Red Hat Enterprise Linux/ Oracle Linux” and OS version as “Red Hat Enterprise Linux 8/Oracle Linux 8 (x86, 64-bit).”

Step 2: You will be asked to create a user account, but can skip this part by scrolling down to the bottom and click “No thanks, just start my download”.

Step 3: You can give a location where do you want to store “MySQL Workbench” file on RedHat Linux or simply select the default location. Now your download will begin and save it under “Downloads” directory.

Step 4: Double click on the downloaded file and click on “Install” button.

Step 5: After successful installation, click on “Lunch” button.

This is how MySQL Workbench looks under RedHat (RHEL 8) Linux.

How to remove MySQL from RedHat Linux
Sometimes we face issues with MySQL installation on Linux machine. If we simply remove MySQL packages and re-install doesn’t fix the issue, in that case, old settings may still exist on the server which again affects new install.
In that case first, remove MySQL completely from the system and erase all settings of old install. To do the same here are the steps which you need to follow:
Step 1: Before removing MySQL server from RedHat Linux, you need to stop its service by using the following command:
sudo systemctl stop mysqld

Step 2: Then remove all the MySQL packages installed on RedHat Linux by typing the following command on your terminal:
sudo yum remove mysql mysql-server

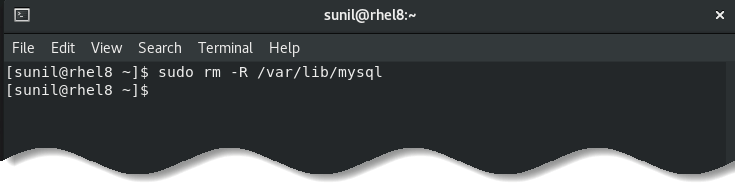
Step 3: Now you need to remove MySQL data directory from system which by default exists at “/var/lib/mysql”.
If you didn’t find this, It may be changed to some other place, which you can find in “my.cnf” file with variable “datadir”. Type following command to delete the “/var/lib/mysql” directory from the system.
sudo rm -R /var/lib/mysql
Step 4: After removing MySQL completely from RedHat Linux, install it again using AppStream which will recreate MySQL directory under “/var/lib/”. Use following command for re-install MySQL on RedHat Linux.
sudo yum -y install @mysql
After completing the above steps, now you have a fresh MySQL install on your system with new settings.
Conclusion
That’s it, in this article you have learned how to install and remove MySQL server on RedHat Linux. You have also learned how to install MySQL Workbench on RedHat Linux too. If you are having any trouble installing feel free to use our comment section for solutions.


Add comment