

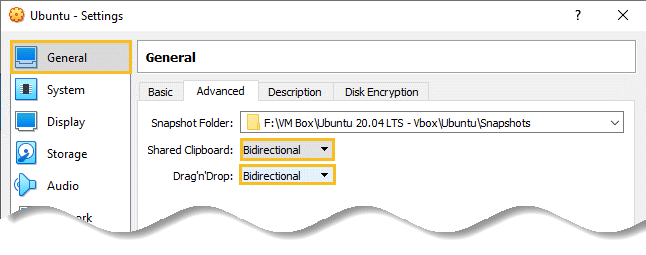
General -> Advanced -> Shared Clipboard : Bidirectional & Drag’n’ Drop: Bidirectional
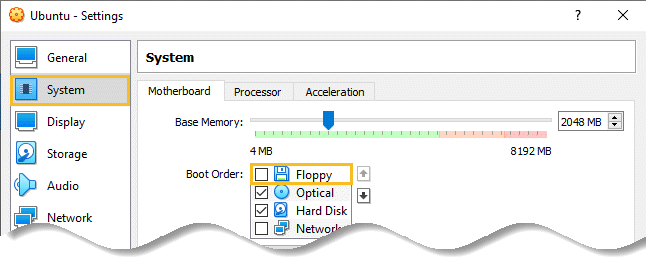
System -> Boot order -> Floppy (Uncheck)
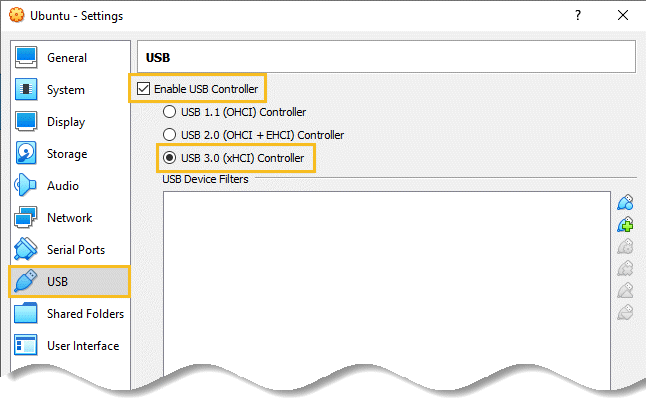
USB -> Enable USB Controller -> USB 3.0 (xHCI) Controller
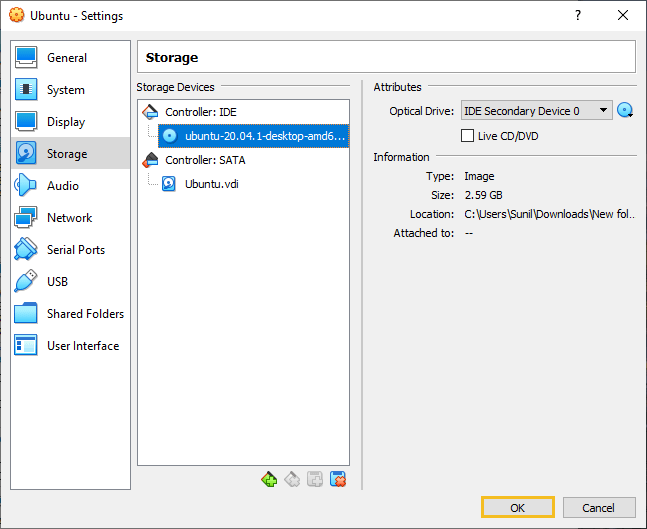
Click OK.
Your Ubuntu OS is ready to install in VirtualBox. Let’s start!
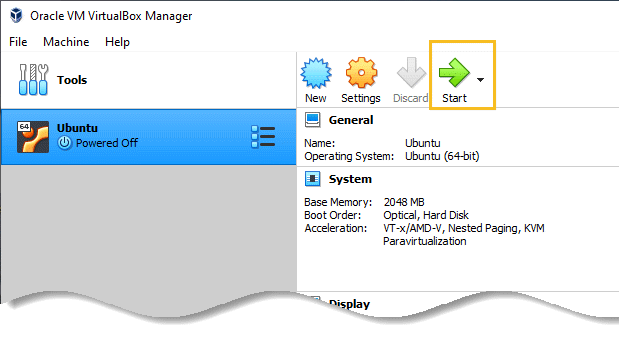
Let’s install Ubuntu!
Step 12: For the first few seconds of the boot process a largely blank screen will appear with the following image located along the bottom edge.

Disk checking…
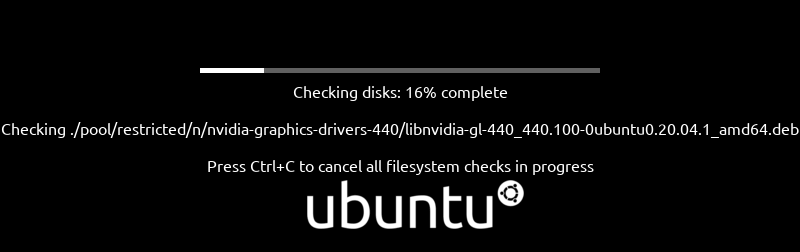
Ubuntu booting…

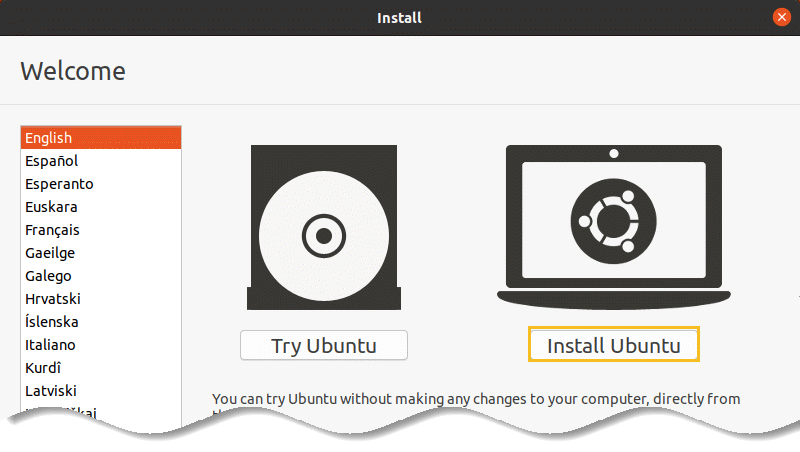
Step 13: In the left pane select Language for displaying information in the installer interface. English is selected in the current example. Then click Install Ubuntu.
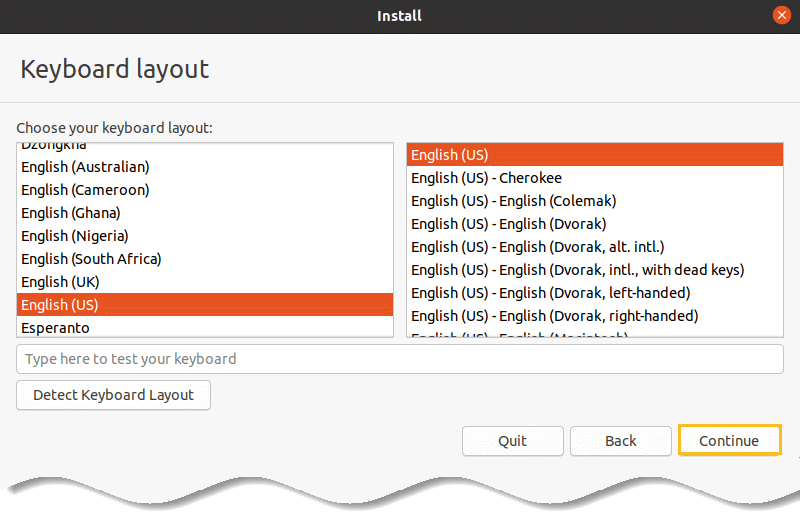
Step 14: Either select your keyboard layout or, if you are unsure, click on the Detect Keyboard Layout button to work through some steps to identify your keyboard before clicking on Continue.
On the next screen, choose whether to perform the Normal or Minimal installation:
Step 15: Select the Normal option if you have plenty of disk space and want to explore the main applications and utilities included with Ubuntu without having to manually install them later.

