

iPhone comes with amazing photography technology allowing users to take beautiful photos. However, as the photo quality is updated, photos take more storage space than before.
You may get the “iPhone storage full” notification, so just migrate some photos to USB Flash Drive and free up some storage space on your iPhone.
In addition, transferring photos from iPhone to USB flash drive is a wise idea to avoid data loss. If you got some important pictures on your iPhone, you can create a backup on a USB drive or other storage device.
Once you encounter a problem making everything on iPhone lost, you can still have the extra copy of your photos. And USB comes with large storage and great portability, so you can take your photos wherever you go.
There are different routes you can take to transfer photos from iPhone to a flash drive. From the methods suggested in this article, you can select the one that is feasible.
Using a USB OTG + Normal Flash Drive That Connects to iPhone
For this you need a compatible USB OTG for iPhone and a normal flash drive (Type C or old fashioned USB 2.0).
Our recommendations are as follows from Amazon:
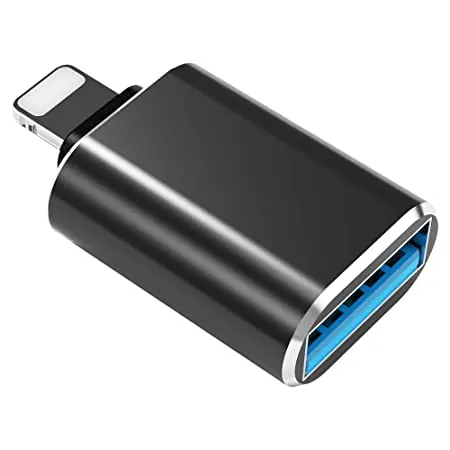
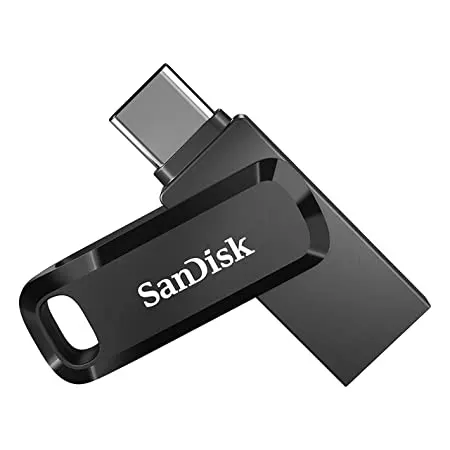
Just plug these two devices into your iPhone and start copy photos to flash drive. That’s simple.

Using a Flash Drive That Connects to iPhone Directly
You can get a flash drive that’s made specifically to plug into iPhone directly. With this kind of drive, transferring photos from iPhone will be a cakewalk. However, it may be a little on the pricier side.
Some of the best-voted flash drives for iPhone are SanDisk iXpand, iDiskk iPhone Memory Stick, to name a few.
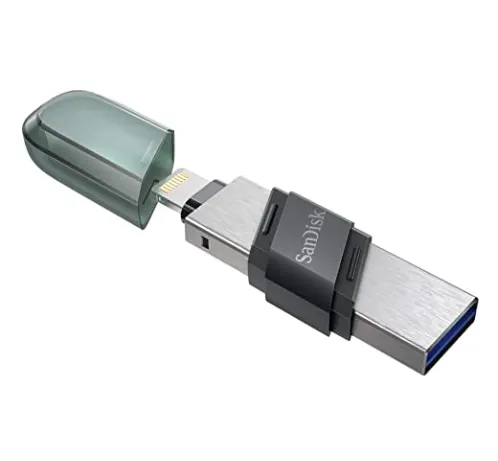
To show you how this works, we have chosen SanDisk iXpand flash drive, at random.
- Lift the flash drive’s lightning corrector.
- Plug it into iPhone.
- Then, a prompt will appear telling you to install the iXpand Sync app.
- When the App Not Installed message shows up, tap App Store.
- In the App Store, search for iXpand Sync.
- Once found, install it.
- Thereafter, open the app.
- A message saying You’re Connected! appears.
- Thereafter, an option will show up from where you can either Turn on Auto Backup or select Skip for now.
- If you choose Skip for now, select Copy Files from the listed options on the screen.
- Then, select Copy Photos from iPhone.
- Select the photos you want to transfer to the flash drive.
- Next, tap Copy to iXpand Drive.
- Select a folder to transfer the photos or create a new folder.
- Tap Copy Here.
Conclusion
With these two methods above, you may have transferred pictures from iPhone to a flash drive successfully. And just as you can see, the second method can be the most direct and quick way to finish the task
If you have any questions about this post, you can leave a comment or send an email to tell us.
Similar articles you may like
- Best Icon Fonts For UI Design
- Batch Resize Images in Photoshop
- Extract Webfont From any Website
- 6 Tools to Create Elegant Code Screenshots for Social Media

