

Step 4: Apple wants you to use your personal information when asked by Apple feature. Apple confirms to use your data to enable features, services and personalize your experience. Don’t worry, because your data is protected and secured, just “Continue”.


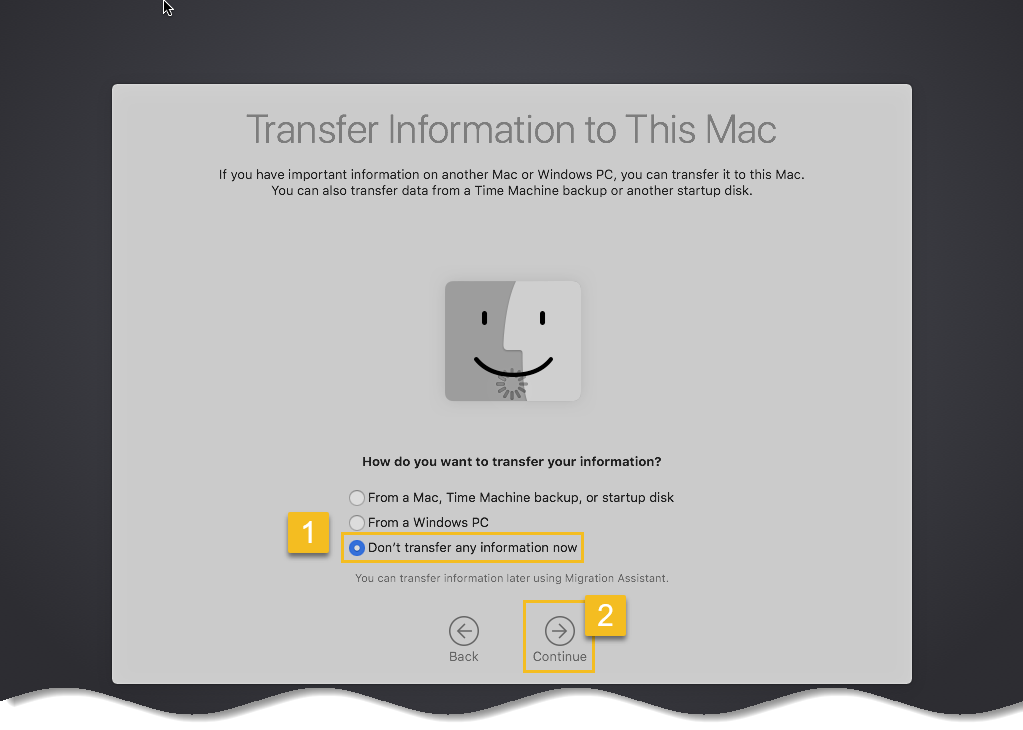
Step 5: Select last option “Don’t transfer any information now”. When you are done, just “Continue”.

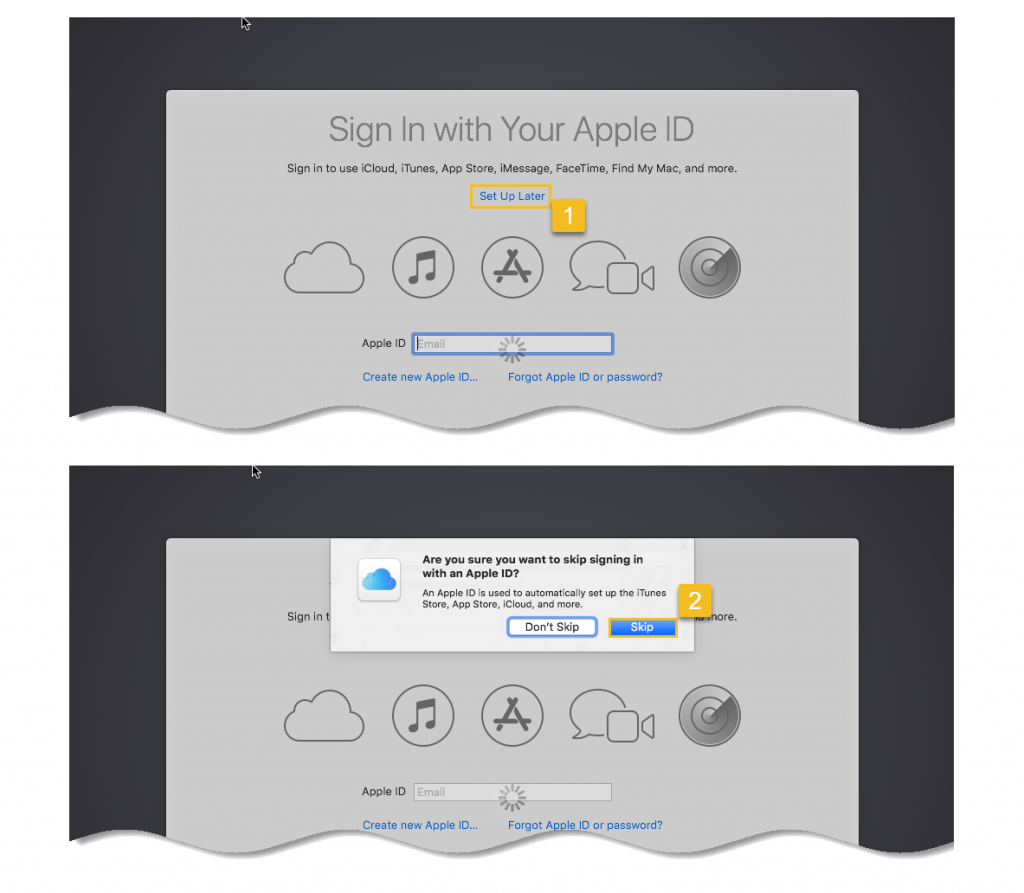
Step 6: Click on “Set Up Later” then select option “Skip”.

Step 7: Click “Agree” to the Terms and Conditions.


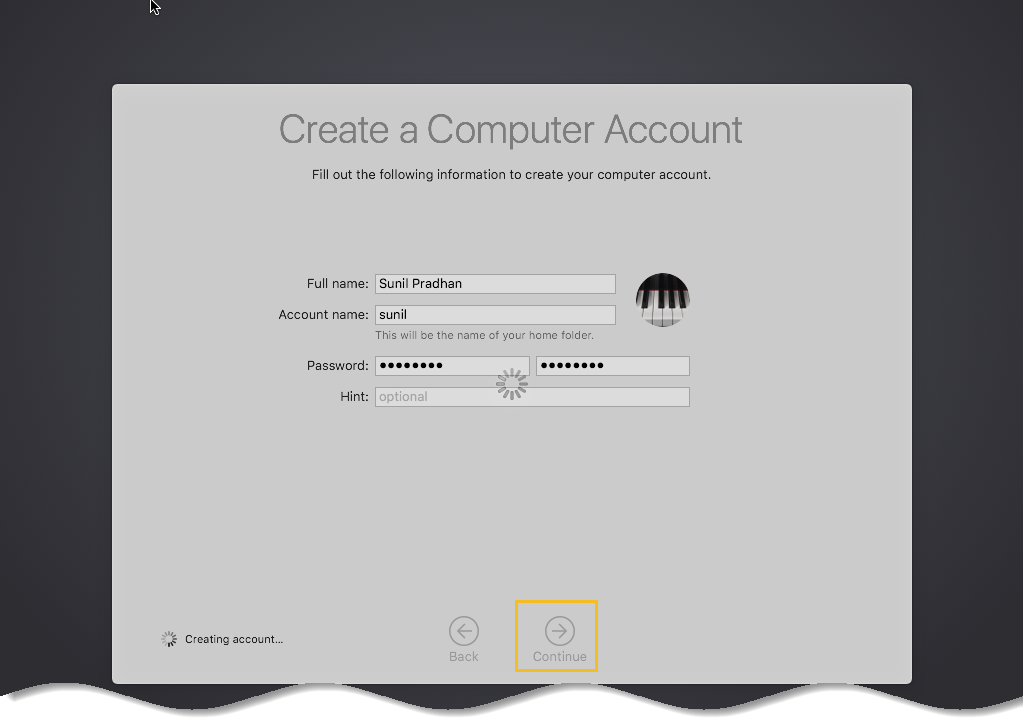
Step 8: Fill out the “Full name, Account name and Password”, then finally click on “Continue” to create your user account for macOS Mojave.

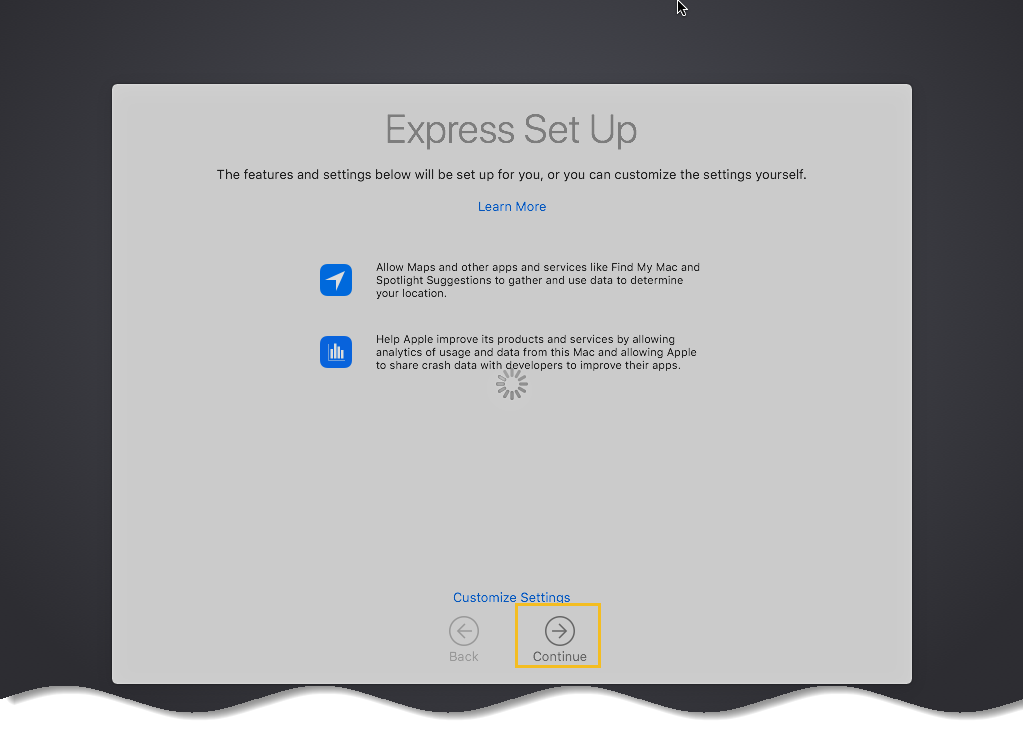
Step 9: If you want to customize express set up, you can click on “Customize Settings” otherwise click on “Continue”.

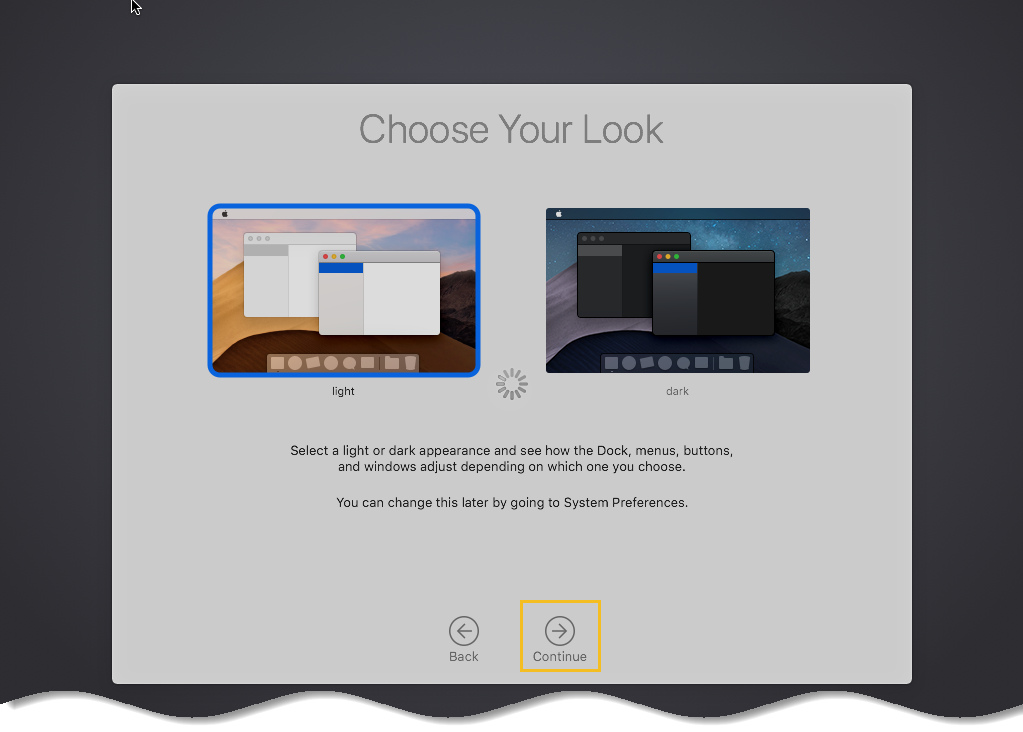
Step 10: The dark mode is a new feature added to macOS Mojave, so you can choose light or dark mode. Just select one of these looks and click “Continue”.

Step 11: Wait a little while then you should see the macOS Mojave Wallpaper.


Congratulation, you have done great and successfully installs macOS Mojave on VirtualBox for the first time.
If you would like to increase screen resolution to your preferred one here’s how to do it.
How to fix macOS Mojave screen resolution on VirtualBox
It is a very popular and well known problem for those who have installed macOS Mojave on VirtualBox for the first time. Because, by default the screen resolution is low. And there is no option for changing the screen resolution directly as desired by you.
Therefore, we are going to configure the resolution correctly as mentioned on below steps.
Step 1: + R and then type “cmd” and click “OK” to open up a regular Command Prompt.


Step 2: Change “VM Name” to your macOS Virtual machine name.
Screen resolution VirtualBox code:
cd "C:\Program Files\Oracle\Virtualbox"
VBoxManage setextradata “VM Name” VBoxInternal2/EfiGraphicsResolution X
Further, Where X can be one of the following resolution.
1920×1080 , 1280×720 , 2048×1080, 2560×1440, 3840×2160, 1280×800, 1280×1024, 1440×900, 1600×900


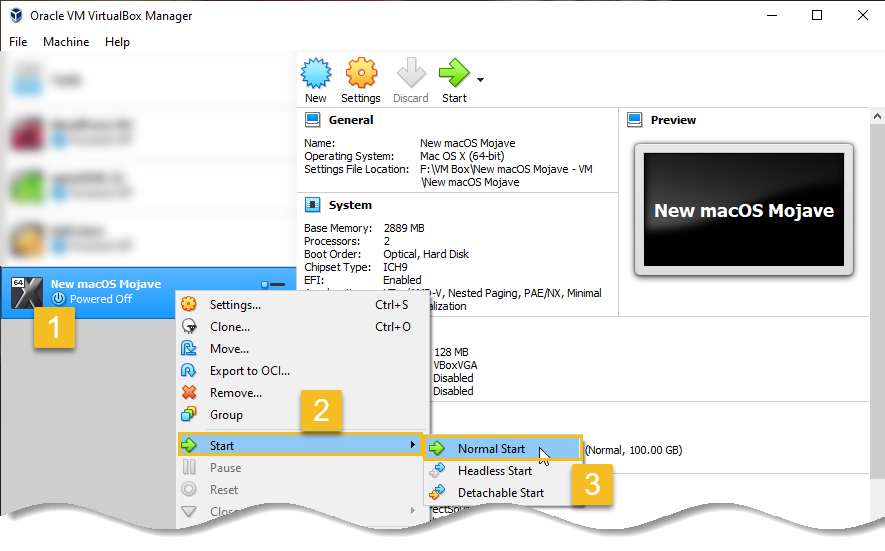
Step 3: Next open VirtualBox. Select macOS Mojave and click on “Start”.

Enjoy now the macOS Mojave with full HD high resolution on your Windows 10 PC.
Conclusion:
That was all about, how you install macOS Mojave on VirtualBox. If you have any kinds of questions, suggestions or inquiries please feel free to leave a comment down below this post. We will be more than happy to answer your every question and make your world beautiful.

