

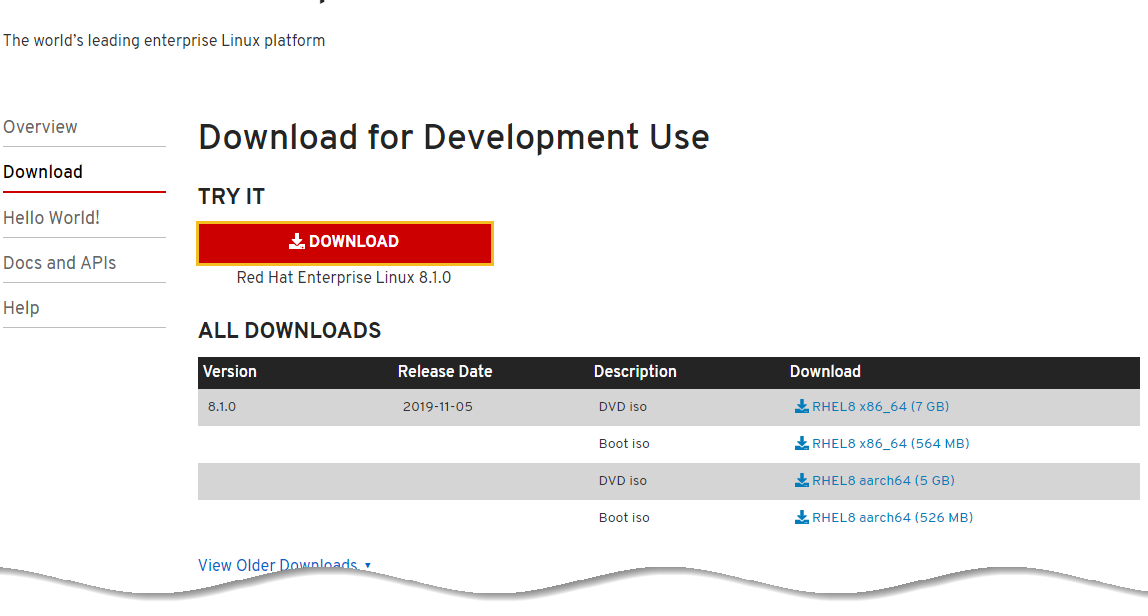
Step 4: Click on “Download” button and RedHat (RHEL 8) Linux will begin to download. Save the ISO file in your computer.

Note: When you register and download through developers.redhat.com, a subscription will be automatically added to your account.
Now you need to download the VirtualBox software and install it.
How to create a new Virtual machine for RedHat (RHEL 8) Linux
VirtualBox lets you run RedHat (RHEL 8) Linux within Windows 10 by creating a Virtual machine. To create a Virtual machine for RedHat (RHEL 8) Linux follow the below steps as mentioned.
Step 1: Head to VirtualBox >> Click “New” and write down the Virtual machine name (Red Hat Linux 8 – Dev). Set the OS type as “Linux”, and choose “Red Hat (64-bit)” for the version. Click “Next”.


Step 2: Second, you need to set the memory allocation for RedHat (RHEL 8) Linux. For speedier response, you can select 4 GB but we are setting 2 GB (aka 2048 MB) for our memory allocation towards RedHat. Click “Next”.


Step 3: Next, you need to choose to create a new virtual hard disk. Click “Create” button.

Step 4: Select “VDI(VirtualBox Disk Image)” as the disk type then click “Next” button.


Step 5: Choose “Dynamically allocated” as the growth method then click “Next” button.

Step 6: You need a little bit of play room, so make the disk 50 GB. Because it’s dynamic, it will only use disk space as it actually gets filled. Click “Create”.


