

MySQL Workbench for Ubuntu Linux have a number of great features which includes SQL editor, data modeling, ER diagramming, MySQL instance dashboard, Database migration and a wide-ranging administration tools for server configuration, user administration, data backup, and other useful tools.
Here are the steps to install MySQL Workbench on Ubuntu Linux:
Step 1: Visit MySQL community downloads page. Select operating system as “Ubuntu Linux” and OS version as “Ubuntu Linux 18.04(x86, 64-bit).”


Step 2: You will be asked to create a user account, but can skip this part by scrolling down to the bottom and click “No thanks, just start my download”.


Step 3: You can give a location where do you want to store “MySQL Workbench” file on Ubuntu Linux or simply select the default location. Now your download will begin and save it under “Downloads” directory.


Step 4: Double click on the downloaded file and click on “Install” button.


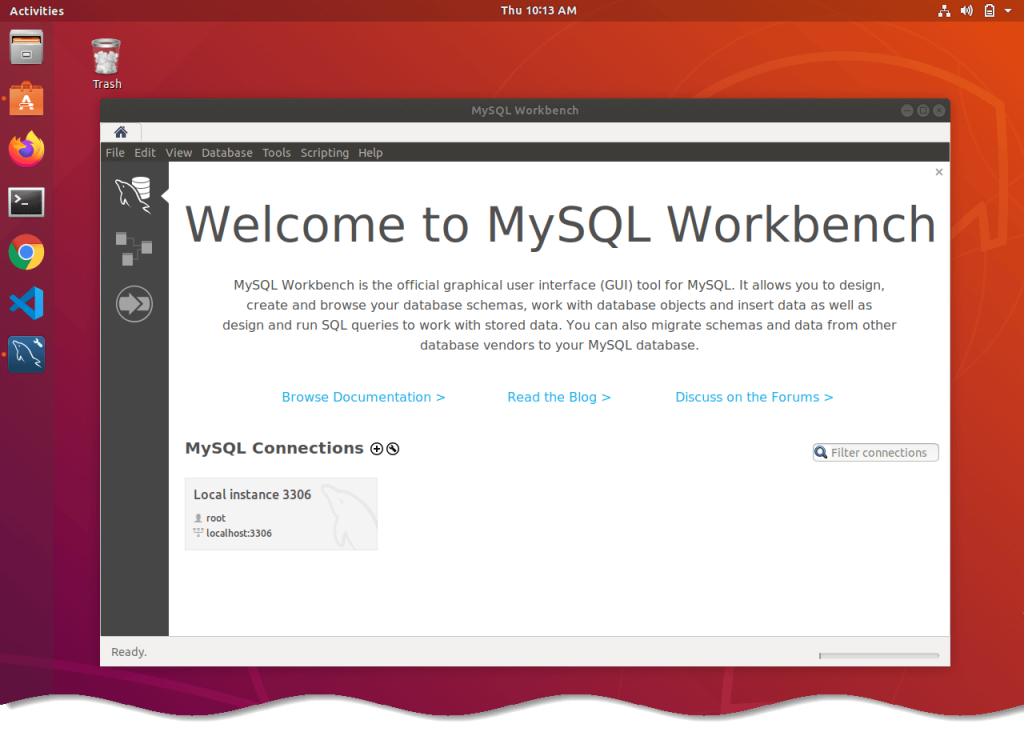
Step 5: After successful installation, your can lunch MySQL Workbench from “Show Applications.”
This is how MySQL Workbench looks under Ubuntu Linux.

How to remove MySQL from Ubuntu Linux
Sometimes we face issues with MySQL installation on Linux machine. If we simply remove MySQL packages and re-install doesn’t fix the issue, in that case, old settings may still exist on the server which again affects new install.
In that case first, remove MySQL completely from the system and erase all settings of old install. To do the same here are the steps which you need to follow:
Step 1: Before removing MySQL server from Ubuntu Linux, you need to stop its service by using the following command:
sudo systemctl stop mysql.service


Step 2: Then remove all the MySQL packages installed on Ubuntu Linux by typing the following command on your terminal:
sudo apt remove mysql-server


Step 3: Now you need to remove MySQL data directory from system which by default exists at “/var/lib/mysql”.
If you didn’t find this, It may be changed to some other place, which you can find in “my.cnf” file with variable “datadir”. Type following command to delete the “/var/lib/mysql” directory from the system.
sudo rm -R /var/lib/mysql


Step 4: After removing MySQL completely from Ubuntu Linux. Now use the following command to re-install MySQL on Ubuntu Linux.
sudo apt install mysql-server
After completing the above steps, now you have a fresh MySQL install on your system with new settings.
Conclusion
The process of installing and setting up MySQL on Ubuntu might seem cumbersome to some, especially using the command line. If you, however, use the above mentioned steps carefully one by one, you will have no problem in having a reliable, secure and stable installation of MySQL running on your Ubuntu.
Tell us in the comments if you found this post to be a useful resource. What do you use MySQL for? We are eager to receive any feedback, impressions or suggestions. Thanks for reading and have don’t hesitate to experiment with this incredible tool!

