MySQL is the most popular open-source relational database management system (RDBMS). It is fast, easy to use, scalable, and an integral part of the popular LAMP stack.
MySQL is backed by Oracle and runs on almost all platforms such as Linux, Windows, Mac and many others. In this article, we will show you how to install and use MySQL on Ubuntu Linux. Let’s get to it!
Also Read: Step by step Instructions to Install MySQL on RedHat Linux
Outline of this post:
- Install MySQL on Ubuntu Linux
- Manage MySQL service on Ubuntu Linux
- Secure MySQL server on Ubuntu Linux
- How to work with MySQL server on Ubuntu Linux
- Install MySQL Workbench on Ubuntu Linux
- Remove MySQL from Ubuntu Linux
Install MySQL on Ubuntu Linux
To install MySQL on Ubuntu Linux follow the steps below:
Step 1: First of all, make sure your repositories are updated by entering the following command in terminal (Ctrl+Alt+T):
sudo apt-get update

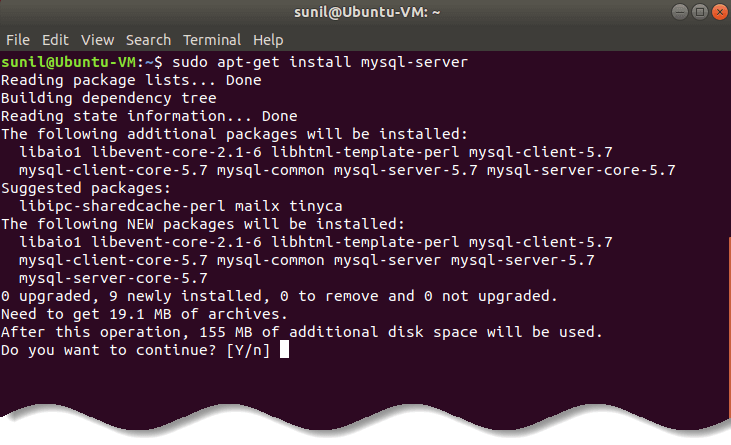
Step 2: Then install MySQL package with the following command:
sudo apt install mysql-server

The system might ask you the password for “sudo” user and also provide you with a “Y/n” option to continue the installation.
Enter “Y” and then hit enter; MySQL will then be installed on your system. The process may, however, take some time depending on your Internet speed.
How to manage MySQL service on Ubuntu Linux
After successful installation of MySQL, it’s time to start MySQL server. Here are the steps which you need to follow:
Step 1: Start MySQL service using the following command.
sudo systemctl start mysql.service

Step 2: If you want to enable MySQL run at system startup then type the following command in your terminal.
sudo systemctl enable mysql.service

Step 3: Finally you can verify the status of MySQL server by using the following command.
sudo systemctl status mysql.service

How to secure MySQL server on Ubuntu Linux
Whenever you install a fresh copy of MySQL, there are some default settings that you should change in order to enhance the security of your MySQL installation. This includes the removal of test users, test databases and permission for remote login by a root user.


Add comment