MySQL is an open source relational database management system (RDBMS) that is quite popular in various business spheres. It is used by a number of database users around the world due to its OS platform independent feature.
In this tutorial, you will learn step by step how to install MySQL on Windows 11 operating system. After the tutorial, you will have a MySQL server and its tools up and running on your system for learning and practicing.
Also Read: Step by step Instructions to Install MySQL on Ubuntu Linux
If you want to install MySQL on Windows environment, using MySQL installer is the easiest way. Because it provides you with an easy-to-use wizard that helps you to install MySQL in few minutes on Windows 11 PC.
Follow the step by step instructions to install MySQL on Windows 11:
Outline of this post:
- Install MySQL on Windows
- Work with MySQL server on Windows 11
Install MySQL on Windows
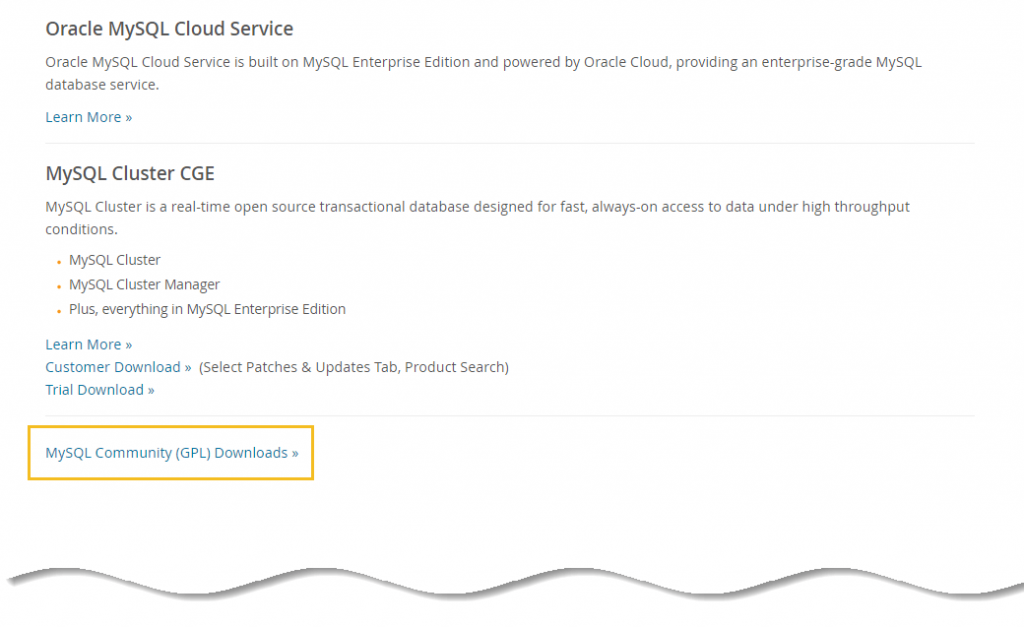
Step 1: To download MySQL installer, go to this link and select MySQL Community (GPL) Downloads.
….

Step 2: From community download page select MySQL Community Server.

Step 3: Select operating system as “Microsoft Windows” and click on “Go to Download Page”.

Step 4: There are two installer files, the first one is a web installer and the second one is an offline installer. Select whichever you like and hit the “Download” button.

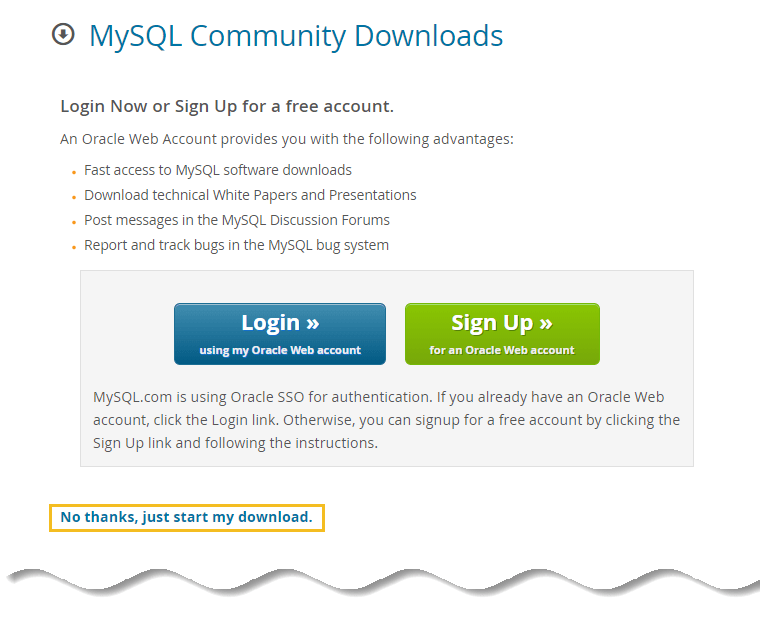
Step 5: You will be asked to create a user account, but can skip this part by scrolling down to the bottom and click “No thanks, just start my download”.

After the download finishes double-click to start the installer.
Step 6: There are several setup types available to choose from. Select “Developer Default”, this is the full installation of MySQL Server and the other tools needed for the development. Click “Next”.

Step 7: In this screen, the installer will download the missing dependencies on Windows 11 PC. Click “Execute” button to start the process and installer will prompt you to install the necessary package.


Add comment