

Compatibility Mode disables certain features, so you will only be able to access commands found in the program that was used to create the workbook.
For example, if you open a workbook created in Excel 2003, you can only use tabs and commands found in Excel 2003.
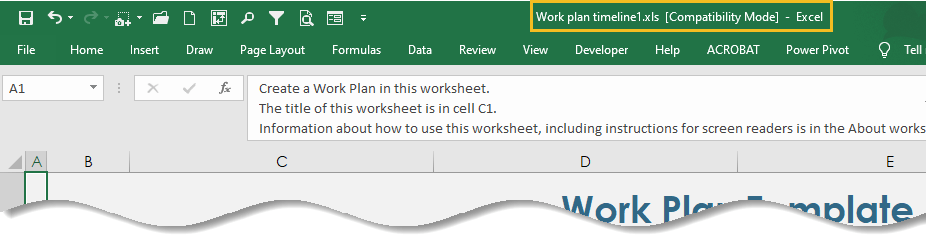
In the image below, you can see that the workbook is in Compatibility Mode, which is indicated at the top of the window to the right of the file name.
This will disable some Excel features, and they will be grayed out on the Ribbon.
In order to exit Compatibility Mode, you will need to convert the workbook to the current version type. However, if you are collaborating with others who only have access to an earlier version of Excel, it’s best to leave the workbook in Compatibility Mode so the format will not change.
How to convert compatibility mode in Excel
If you want access to all of the Excel features, you can convert the workbook to the latest version of Excel file format by following steps:
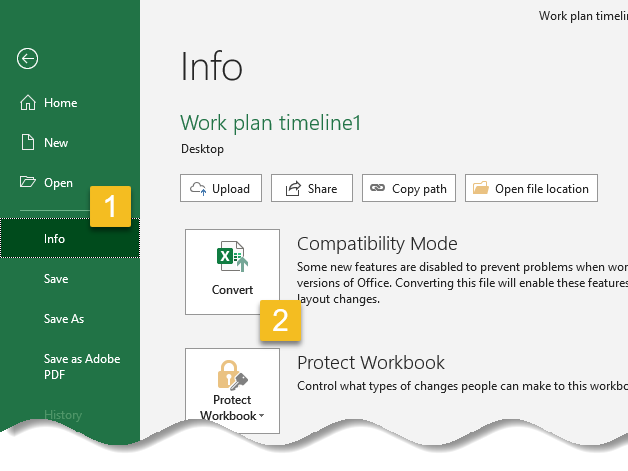
Step 1: Click the File tab to access Backstage view.
Step 2: Locate and select Convert command.
Auto recover option in Excel
Excel automatically saves your workbooks to a temporary folder while you are working on them. If you forget to save your changes or if Excel crashes, you can restore the file using Auto Recover.
To use Auto Recover option in Excel then use the following steps.
Step 1: Open Excel. If auto saved versions of a file are found, the Document Recovery pane will appear.
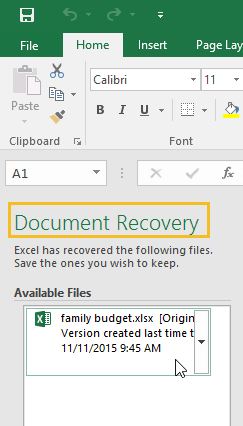
Step 2: Click to open an available file. The workbook will be recovered.
By default, Excel auto saves every 10 minutes. If you are editing a workbook for less than 10 minutes, Excel may not create an auto saved version.
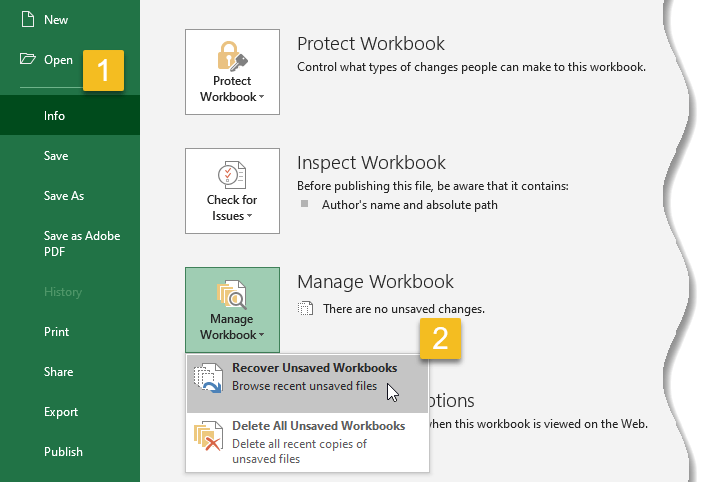
If you don’t see the file you need, you can browse all auto saved files from Backstage view. Just select the File tab then Info, click Manage Versions, then choose Recover Unsaved Workbooks.
Setting color theme in Excel
To set the color-theme in Excel you have to go to Excel ribbon, and click on File then Options. It will open a window where you have to follow the following steps.
Step 1: The General tab on the left-hand panel will be selected by default. Look for Office Theme drop-down list and select the desired color.
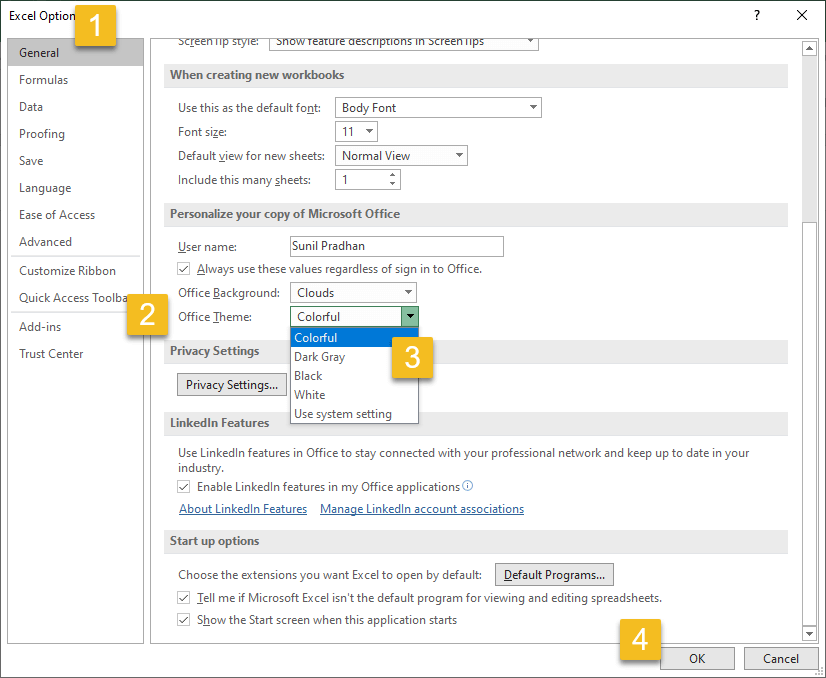
Step 2: Click on OK button.
💡 Quick Tips
Faster way to change Microsoft office theme and background is by Backstage view. Simply click File tab to access Backstage view then Account.
On left side you will get an option to change Microsoft office theme and background.
Conclusion
Here we are ending our first part of multi series excel guide. Part-1 is purely written for absolute dummies who are new to Excel. After reading this, we are sure you are ready to read our Part-2.
In Part-2 we are going to cover Excel cells, because whenever you work with Excel, you will enter information into cells. Cells are the basic building blocks of a worksheet.
You will need to learn the basics of cells and cell content to calculate, analyze, and organize data in Excel. We hope you found this article useful, feel free to leave any questions in the comments below. we will be glad to help out!

