
SASS stands for “Syntactically Awesome Style Sheets” and it is an extension to CSS which helps us write more flexible styles – in other words, it’s a CSS preprocessor.
CSS are getting larger, more complex, and harder to maintain. This is where a preprocessor can help. SASS lets you use features that don’t exist in CSS yet like nesting, mixins, inheritance and others.
Note: How does SASS Work?
A browser does not understand SASS code. Therefore, you will need a SASS preprocessor to convert SASS code into standard CSS.
This process is called transpiling. So, you need to give a transpiler some SASS code and then get some CSS code back.
In other words, SASS helps us organize large stylesheets in a more maintainable way. In this article, you will learn to set up development environment for SASS in Visual Studio Code.
How to setup SASS dev environment in VS Code
Now follow the step by step methods to get started with SASS inside VS Code:
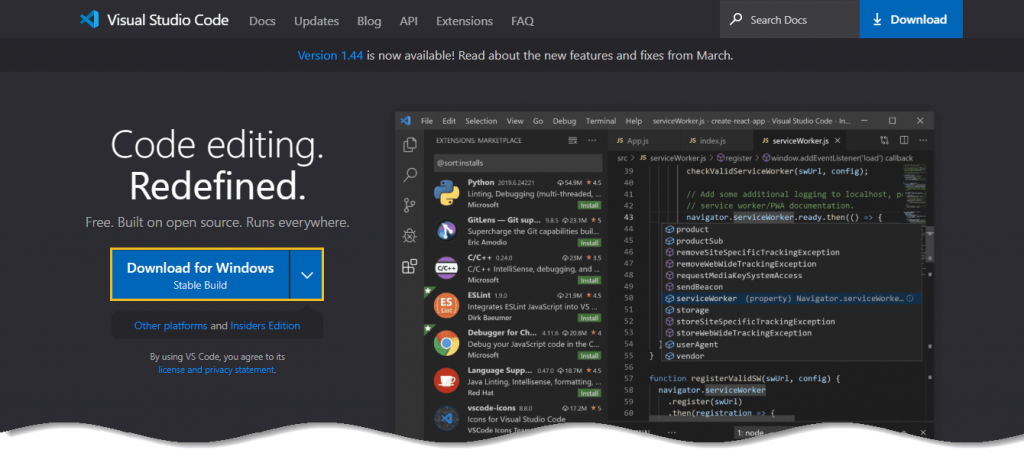
Step 1: Download Visual Studio Code (VS Code) and install it on your system.
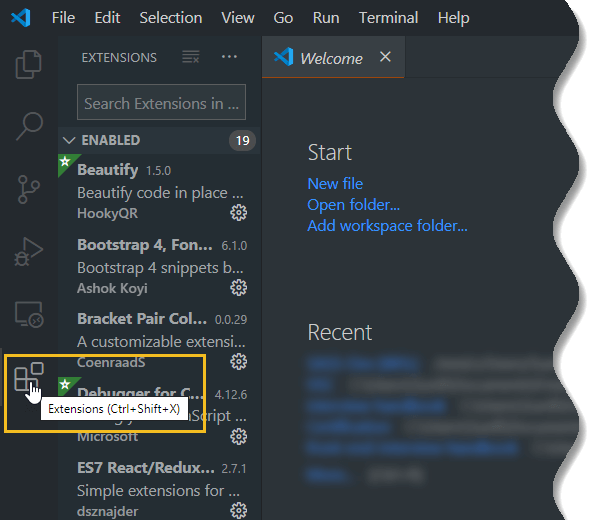
Step 2: Open VS Code and then click on extensions tab.
Step 3: Search for DartJS Sass Compiler and Sass Watcher by CodeLios and install it.

This extension will do magic part of SASS in your project which is compatible with latest Dart SASS.
Step 4: Then install Live Server from VS Code Marketplace.
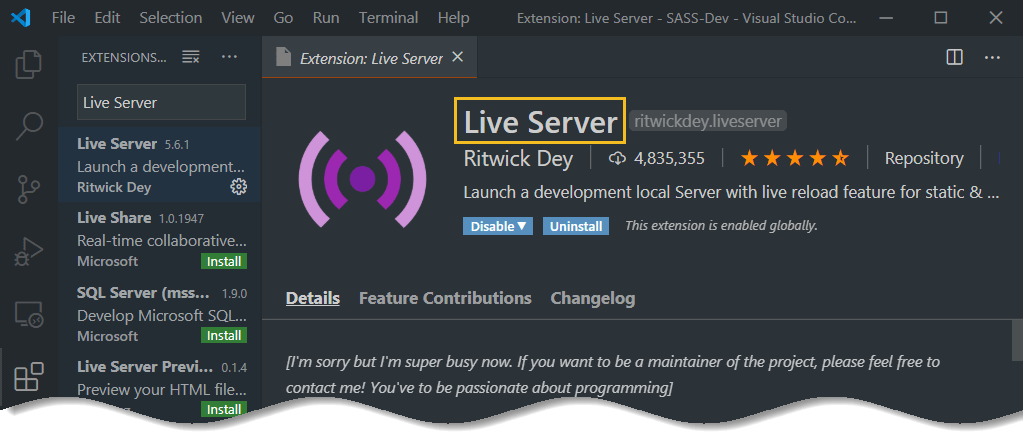
This extension allows browser to auto reload.
Step 5: Create a directory named “SASS-DEV” in VS Code.

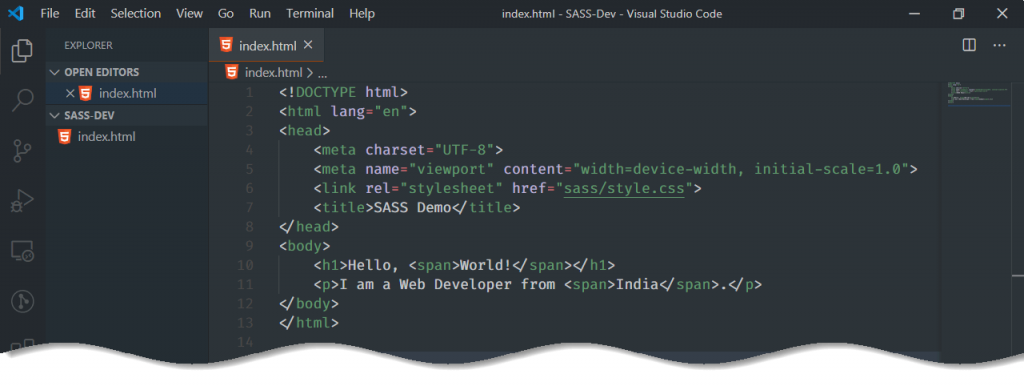
Step 6: In root directory create “index.html” file and then add the following html code:
<!DOCTYPE html>
<html lang="en">
<head>
	<meta charset="UTF-8">
	<meta name="viewport" content="width=device-width, initial-scale=1.0">
	<link rel="stylesheet" href="sass/style.css">
	<title>SASS Demo</title>
</head>
<body>
	<h1>Hello, <span>World!</span></h1>
	<p>I am a Web Developer from <span>India</span>.</p>
</body>
</html>
The current directory structure and html code will look something as illustrated:
Step 7: Next create a directory called “sass” in your root project directory. Then, under “sass” directory create another file called “style.scss”.

.scss or .sass?
In SASS there are two ways of writing – .scss and .sass – however after being compiled they generate similar output..scss is the modern standard. It’s syntax is very similar to CSS in that it uses brackets and semi-colons. Even normal CSS is valid in this syntax..sass is an older syntax that focuses on indentation to separate code blocks and newline characters to separate rules.
Step 8: Now let’s jump straight to write some code in “style.scss”.
$text-color: #86A3C3;
$span-color: #7268A7;

span {
	color: $span-color;
}
h1, p {
	color: $text-color;
}
Then save the file by pressing CTRL + S which will automatically generate “style.css”, “style.css.map”, “style.min.css” and “style.min.css.map” for you.

While writing down code, you only need to write code in “style.scss” and it auto generate plain css for you in “style.css” file.
Note: Never add code in your css file else it will erase automatically by SASS compiler.
Step 9: After all setup click on “Go Live” from VS code status bar which will fired up Chrome browser to open the Live server with IP address and port. You can start building your project along with the all the assets. Any file changes such as “index.html” will automatically reload on your open browser.

Here is how the output looks on Google Chrome browser:

If using an extension from VS Code marketplace is bit overwhelming, you can roll the preprocessor into your workflow by using a simple GUI on your development machine and compile as you go.
Several applications are available for SASS but the best two applications we recommend are as follows:
Prepros: This tool compiles SASS with automatic CSS prefixing and includes a built-in server for cross-browser testing. All its features are available with its free unlimited trial and bonus it runs on Mac, Windows, and Linux.
Koala: This GUI application is also cross-platform and offers real-time compilation. Koala runs on Mac, Windows, and Linux.
Conclusion:
We hope you have found this article helpful, and that it has provided useful information to set up a dev environment for SASS in VS code.
The point is start utilizing the power of SASS in whatever way you are comfortable with, it will be worth the learning curve to have this powerful tool.
Thanks for reading this article and if you have any questions or comments, then leave them below.


Add comment