

Step 3: Now open Photoshop and go to File -> Save As and select the file from the dropdown. You will be able to see WebP format in the dropdown list.
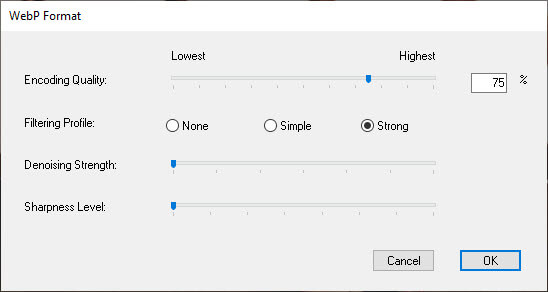
There will be WebP & WebP lossless; you can try both of them and choose whichever suits your need.
Method #3 – Fnordware plug-in
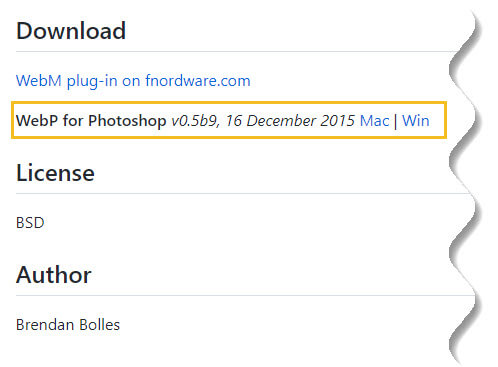
Last option coming from fnordware, with support for Photoshop on Windows (32-bit and 64-bit) and Mac. This plugin is currently in Beta and has been last updated on 16 December 2015.
To use this plug-in, here are the steps which you need to follow:
Step 1: Visit fnordware GitHub page and download WebP plug-in.
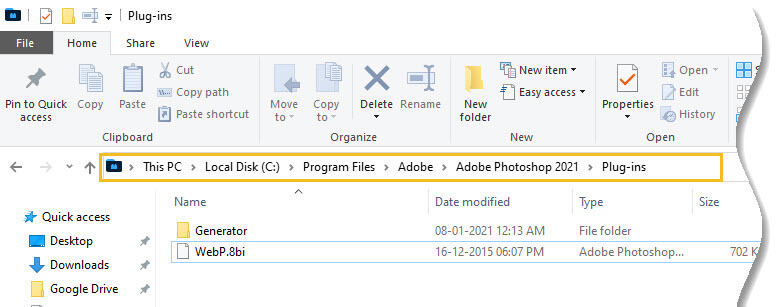
Step 2: The downloaded plug-in can be installed to the following location:
Step 3: Now open Photoshop and go to File -> Save As and select the file from the dropdown. You will be able to see WebP format in the dropdown list.
The fnordware plugin has both lossless and lossy options within the same dialog window – see a screenshot of the options below.
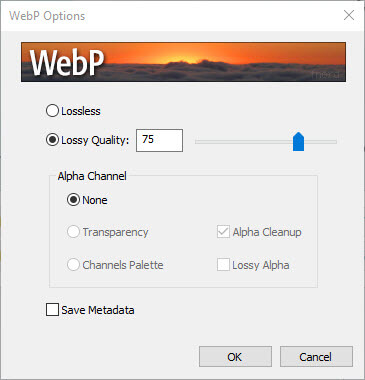
If you are not sure whether to save lossy or lossless, think of it this way: if you would save as PNG, you would save as lossless and if you would save as JPEG, you would save as lossy and choose the quality percentage of the output file.
Conclusion
We hope this article has helped you to open or save images in WebP file format in Photoshop. Also, we welcome your thoughts, questions or suggestions regarding this article. Kindly don’t forget us to give five star rating.

