
❗ Native Support for WebP – Photoshop
With Photoshop 23.2, Photoshop has full support for the WebP file format! WebP files can now be opened, created, edited, and saved in Photoshop without the need for a plug-in or preference setting.
– Source
Even after so many years of WebP image format prevailing in the digital space, Adobe Photoshop doesn’t natively allow to open or export images in WebP format.
But every problem has a solution and this one isn’t any different. With a simple workaround you can enable your Photoshop to open, edit and even save images in .WebP format. So, let’s take a look at the following easy steps to do just that.
❓ What is WebP Image Format?
WebP is Google’s modern format for lossy and lossless image compressions. It is basically aimed at replacing JPEG, PNG and GIF formats on the web.
Method #1 – WebPShop plug-in
To open and save WebP images directly from Photoshop, you can simply download and install the WebPShop plug-in. Here are the steps which you need to follow:
Also Read: Image Optimization for Best Web Performance
Step 1: You can download the WebPShop plug-in (with universal/ARM support) directly from Google who owns and maintains the WebP format.
Also, WebPShop is available on GitHub under an Apache 2.0 license.
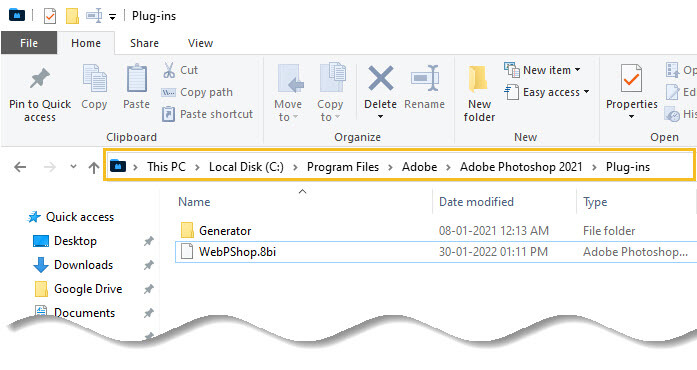
Step 2: The downloaded plug-in can be installed to the following location:
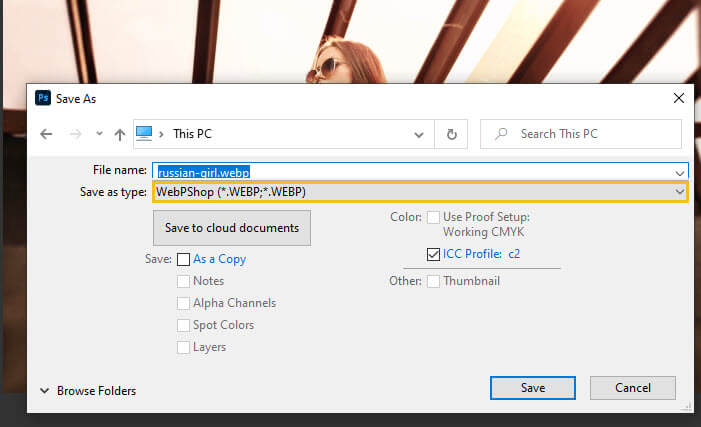
Step 3: Now open Photoshop and go to File -> Save As and select the file from the dropdown. You will be able to see WebP format in the dropdown list.
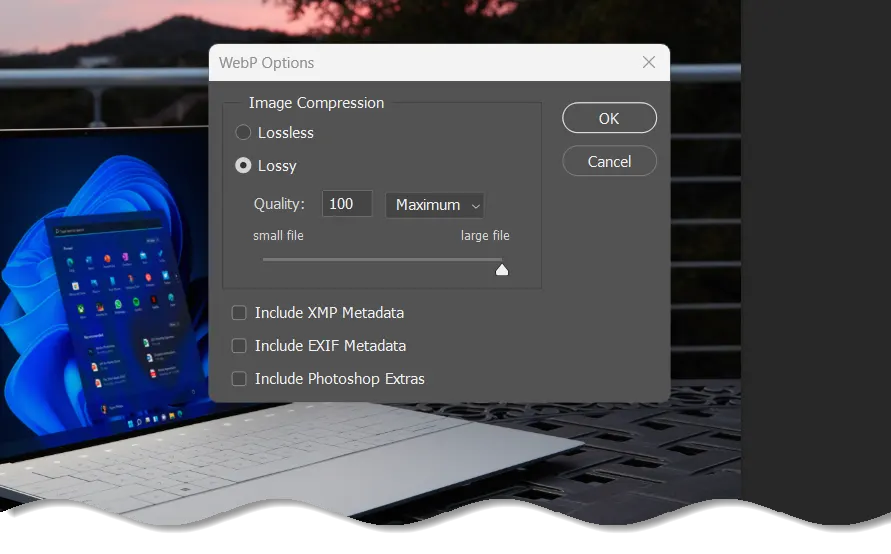
Step 4: Compression settings can be adjusted during the Save option.

Available options are as follows:
- The Quality goes from lossy 0 (the image is degraded to fit in fewer bytes) to lossless 100 (pixels stay exactly the same).
Usually the compressed size increases with quality but for some images (e.g. screen captures, plain colors…), the lossless algorithm produces smaller files.
- The Compression effort controls the encoding speed. Slower increases the visual quality and/or decreases the file size.
- The Preview feature will show the compressed image and its final size. If the picture is too tall or too wide, a moveable zoomed-in area will appear.
⚠️ Warning: for big images and/or heavy compression effort, the graphical user interface may be slow/unresponsive when this is enabled.
Method #2 – Telegraphics plug-in
Telegraphics has also created WebP plug-in for Photoshop and here are the steps which you need to follow:
Step 1: Visit Telegraphics site and download WebP plug-in.

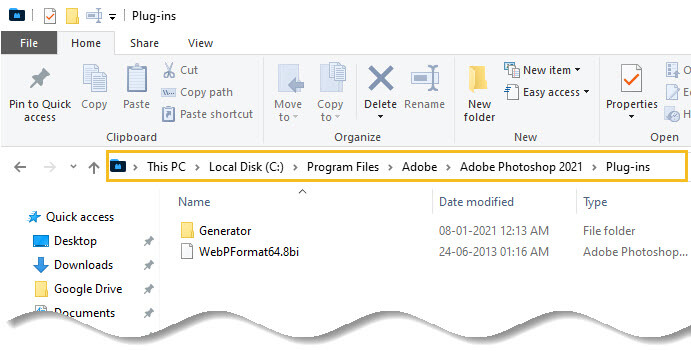
Step 2: The downloaded plug-in can be installed to the following location:


Add comment