
You can toggle these measurements on or off by selecting the small “Settings” icon in the bottom right corner.
Once you click “Create stream”, you will be given both a unique measurement ID and a unique stream ID, as seen below.
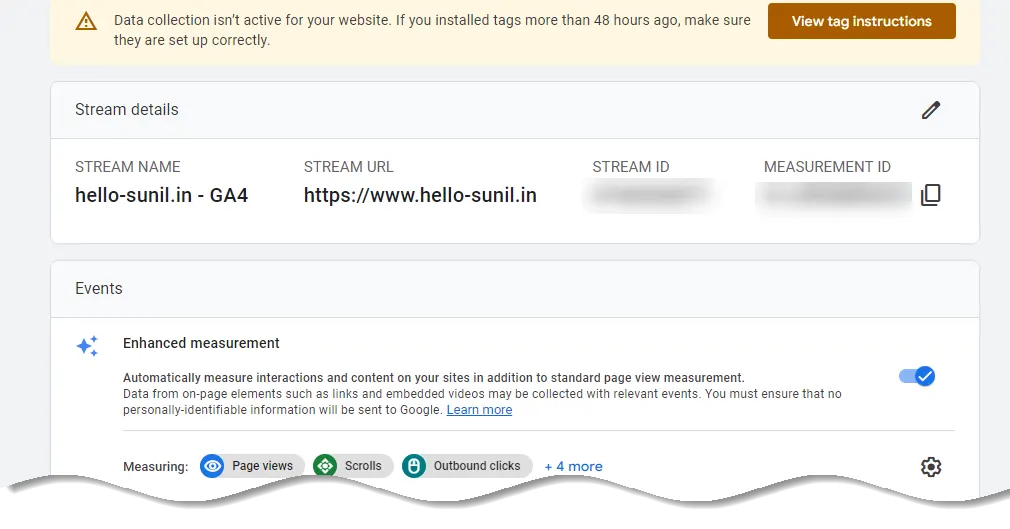
Remember, Google Analytics 4 uses Measurement ID. Older versions use Tracking ID.
Step 3: Start Collecting Data From Your Website
Your data stream is the gateway into Google Analytics portal. But to actually collect the data itself from your website and send it there, you need to add an Analytics tag — a small snippet of code — to your web pages.
Click the “Global site tag (gtag.js)” row. Here you can see a code snippet. The code snippet is a script to allow Google to measure data on your site.
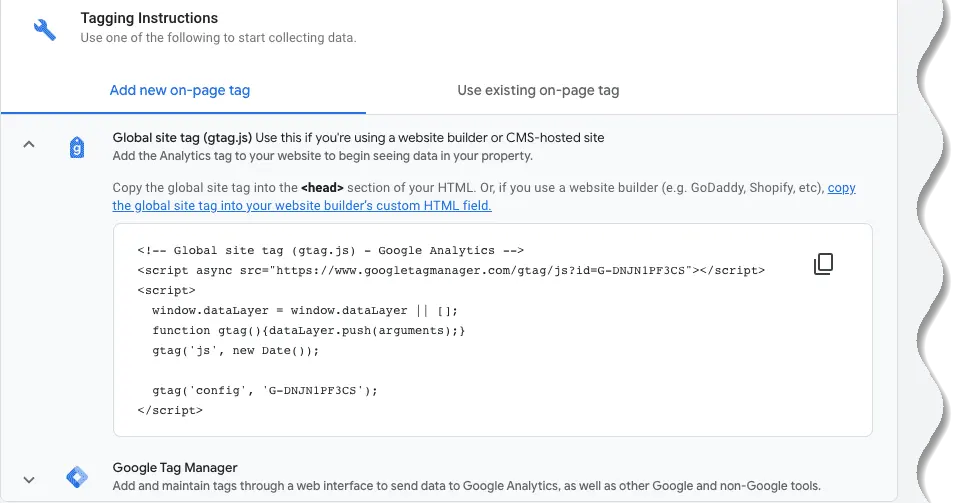
Copy the code snippet. Locate the head tag in your HTML. Paste the code snippet just below the head tag. Save and publish the code.
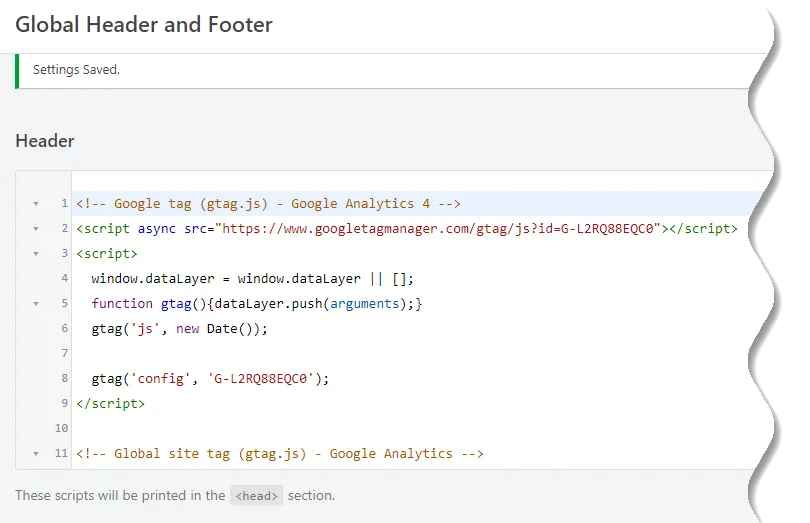
For WordPress you can use Insert Headers and Footers plugin to insert the code under head section of the website.
Step 4: Test That It Works
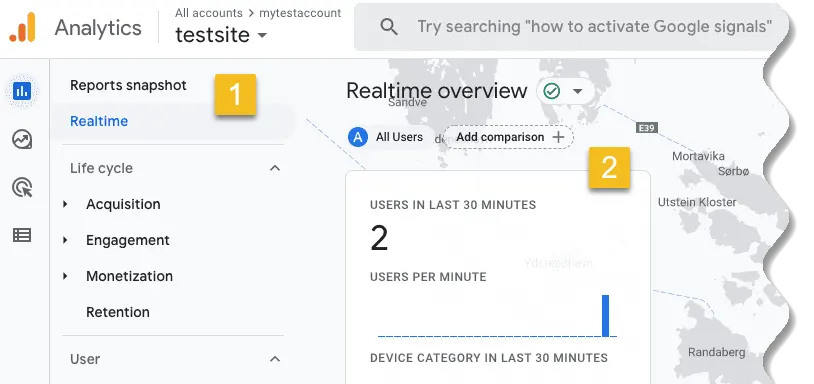
Ensure that you have successfully saved and published the code snippet with the correct Measurement ID.
Open the URL for the site you have connected to the data stream. Click on “Real time” on the menu to the left. Confirm that you see yourself as an active user.
Congrats. You have successfully enabled Google Analytics for your site!
Once it’s done, wait for a few hours, as the installation can take up to 48 hours to fully activate.
Conclusion
This blog has shared the easy steps of setting up a Google Analytics account and integrating it with your website.
You can refine your site’s data analysis by editing Google Analytics’ configuration options. These configurations will allow you to analyze traffic and help improve conversion rates. In case of any questions, do not hesitate to ask us for advice in the comment section.
Similar articles you may like
- What is SSL,TLS and HTTPS?
- How to Set Up Google Search Console
- How to add a GDPR cookie banner for WordPress
- Bing Webmaster Tools – A Quick tutorial for Beginners


Add comment