
Visual Studio Code (VS Code) has easily become one of the most popular editors out there for Web Development. It has gained such popularity thanks to its many built in features, including source control integration, namely with Git.
With Git being one of the most popular and powerful Source Control providers, harnessing its power from within Visual Studio Code (VS Code) is just icing on the cake.
Visual Studio Code (VS Code) supports Git by default, which means you don’t have to install any packages or extensions to use it. Git allows you to track your work, move back and forth between versions, and work on different branches at the same time. But very few know how to use it with GitHub.
In this article, you will learn how to version control with Git in Visual Studio Code and GitHub. In addition, you will learn about Git branching and merging support, all within Visual Studio Code (VS Code). So, without further ado, let’s hop on!!
Outline of this post:
- Install Git on your system
- How to version control with Git in Visual Studio Code and GitHub
- How to compare changes in Visual Studio Code (VS Code)
- How to work with branches in Visual Studio Code (VS Code)
- How to use Git commands from the command palette in VS Code
- How to clone an existing repository from GitHub to VS Code
- How to remove a project from Git in Visual Studio Code
- How to do advance Git operations in Visual Studio Code through plugins
- Conclusion
How to install Git on your system
“Git” should be installed on your system even before you read this article further. We have written on this subject in our last two consecutive articles. So that, we are not going to repeat Git installation here.
You can find those articles as such: (Git installation)
- Getting started with Git and GitHub: the complete beginner’s guide (for Windows)
- Essential Git commands : Basic to advance with examples (for Linux)
After successful installation, check your Git version by typing the following command:
git –version

How to version control with Git in Visual Studio Code and GitHub
Assuming that you have no trouble installing Git on your system, once you have done so you can start working with it directly from Visual Studio Code (VS Code).
The workflow with Visual Studio Code here we are going to follow are highlighted as such:
- Initialize the repository locally
- Stage your changes
- Commit your local changes
- Push your changes to remote repository
How to initialize Git repository locally in Visual Studio Code (VS Code)
Follow the steps to create and initialize the repository locally in VS Code:
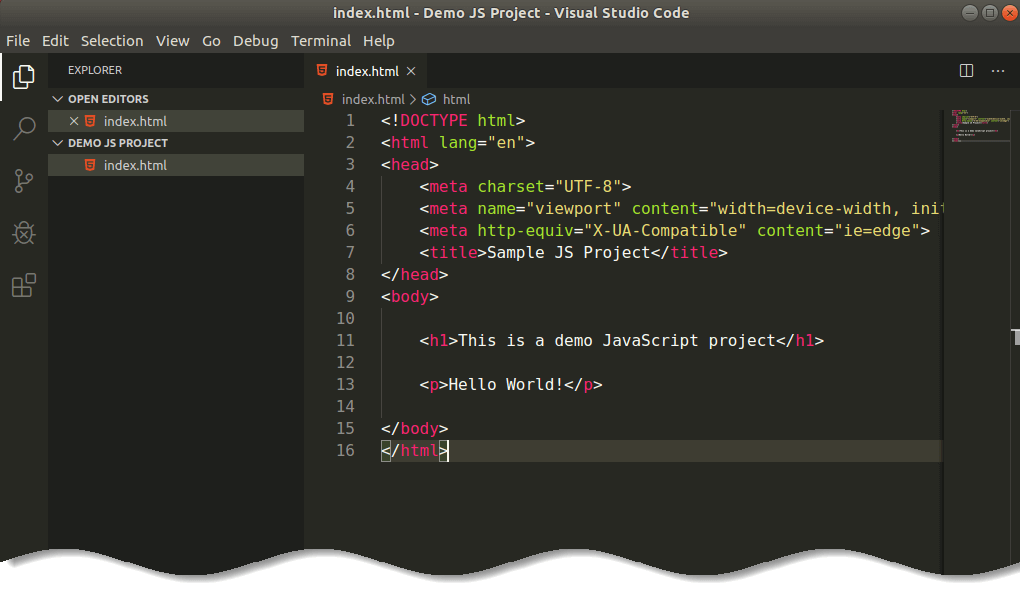
Step 1: Open Visual Studio Code (VS Code) and create a demo project or download the sample project and import it to Visual Studio Code (VS Code).
Step 2: Go to source control section and hit “+” icon or use keyboard shortcut (CTRL + Shift + G).
It is now asking to pick workspace directory to initialize Git repository. Since, you have created the project directory in Visual Studio Code (VS Code) just select “Demo JS Project” as illustrated below.

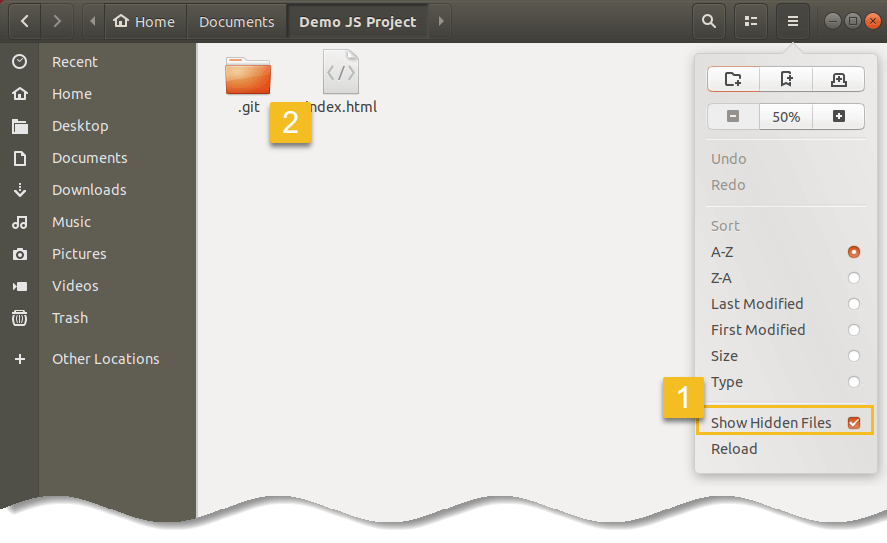
Visual Studio Code (VS Code) will create a .git directory inside your workspace but you can’t see this from VS Code, as it’s a hidden directory.
If You want to see .git directory then go to file manager in the root directory of your project and select the option “Show Hidden Files”.
You can now see source control icon has changed and “index.html” is untracked.
How to stage your changes in Visual Studio Code (VS Code)
After successfully set up a Git repository, it’s time to add those files to track with Git to the staging area. But what is staging area in Git? Let’s explain by simple words:
Let’s say you want to move some of your valuable things to a lock box, but you don’t know yet what things you will put there. For now, you just gather things into a basket. You can take things out of the basket if you decide that they aren’t valuable enough to store in a lock box, and you can add things to the basket as you wish.


Add comment