
Custom fonts changes how typography looks on your website. Using the correct font can be a super big impact on how your website feels to visitors.
@font-face is a CSS at-rule used to define custom fonts. Once added to a stylesheet, the rule instructs the browser to download the font from where it is hosted, then display it as specified in the CSS.
In this post, we are going to show you step by step how to set up custom fonts on your website in CSS using @font-face.
To create the best user experience, we will then use the font-display property to customize how and when to load it.
How to add Custom Fonts to Your Website Using @font-face
The @font-face CSS rule explained below is the most common approach for adding custom fonts to a website.
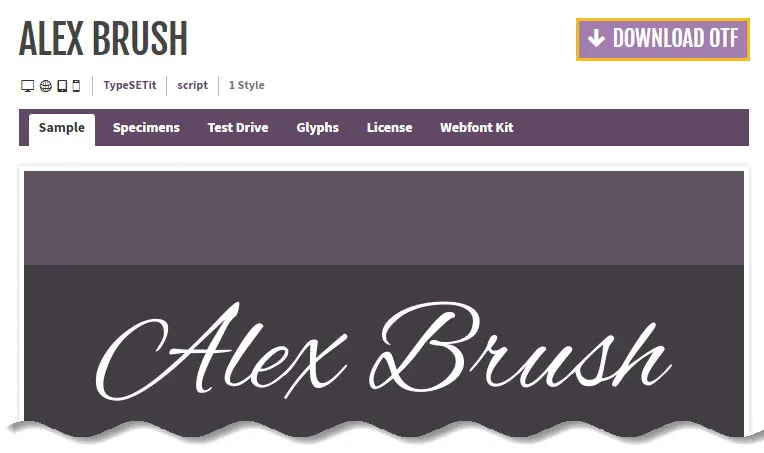
Step 1: Download the font
Find the custom font you want to use on your website, and then download the TrueType Font file format (.ttf). You can also download the OpenType Font format (.otf)
Step 2: Create a WebFont Kit for cross-browsing
Once you get hold of your font, head over to the Font Squirrel Webfont Generator and upload your fonts into the generator.
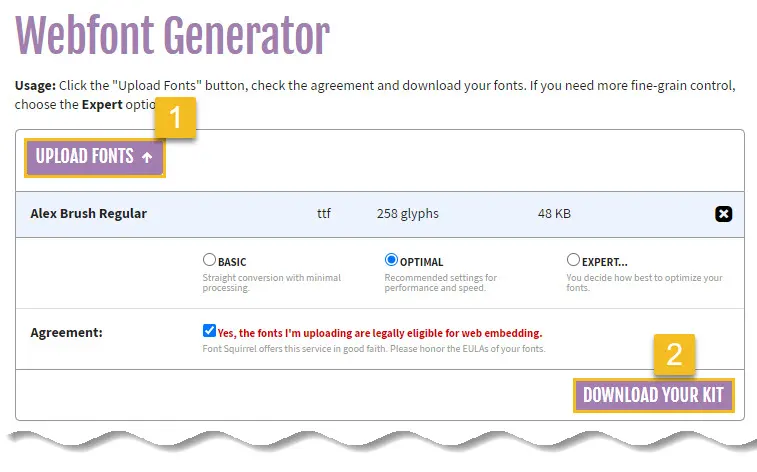
The Webfont Generator allows you to convert any font that you legally own the rights to (.ttf or .otf file format) and convert it into a usable WebFont Kit that includes an easy-to-use CSS.
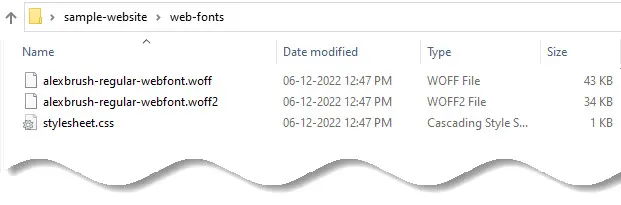
We have used the Alex Brush Font for this tutorial. You should be able to download a webfont folder with the following items.
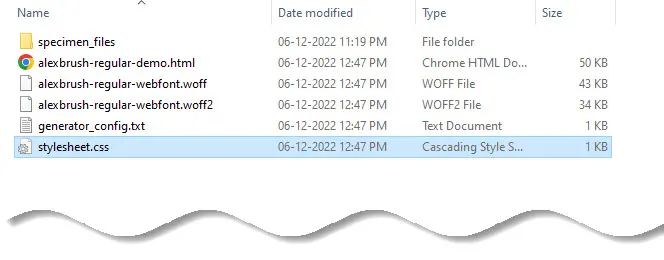
From here, you can remove all demo.html files, the speciment_files folder and the generator_config.txt.
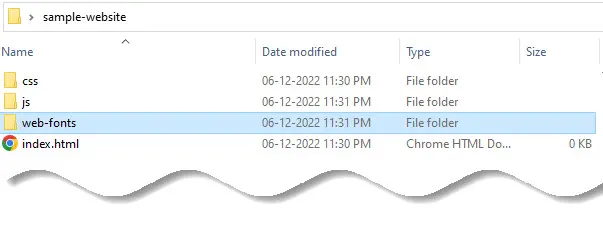
Step 3: Copy the Webfont Into your Stylesheet
Typically, we place the fonts beside css directory like this:
Open up the stylesheet.css file in the webfont folder and you should see the @font-face declarations that look somewhat like this.
@font-face {
    font-family: 'alex_brushregular';
    src: url('alexbrush-regular-webfont.woff2') format('woff2'),
         url('alexbrush-regular-webfont.woff') format('woff');
    font-weight: normal;
    font-style: normal;

}
Let’s examine this code block by block.
Always define your @font-face rules first in your main CSS file. The most basic version of the @font-face rule requires the font-family and src properties.
Other two properties are as follows:
font-weight:It is used to set the weight or thickness of the font being used with the HTML Text.font-style:It is used to style the given particular text in a normal, italic, or oblique face from its font-family.
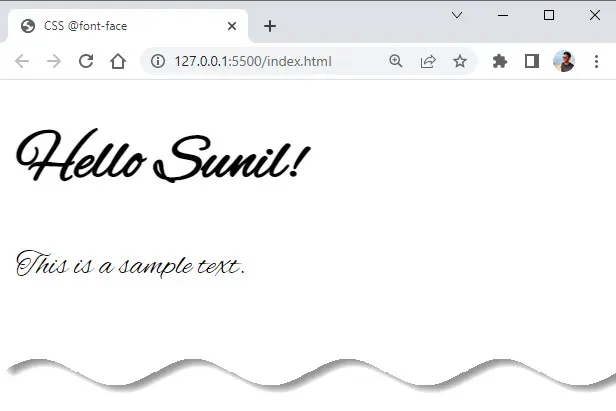
Now let’s build a small HTML page with some <h1> and <p> tags and add the following code, which will define a heading and a line of text:
<!DOCTYPE html>
<html lang="en">

<head>
	<meta charset="UTF-8">
	<meta name="viewport" content="width=device-width, initial-scale=1.0">
	<title>CSS @font-face</title>
	<link rel="stylesheet" href="web-fonts/stylesheet.css">
	<link rel="stylesheet" href="css/style.css">

</head>

<body>
	<h1> Hello Sunil! </h1>
	<p> This is a sample text. </p>
</body>

</html>
Step 4: Use the custom font in your CSS declarations
Now that your CSS and font files are uploaded to your server, you can start using your custom font in your CSS declarations to help improve the look of the HTML.
This can be done in multiple ways, including adding site-wide declarations to your main CSS file.
h1, p {
  font-family: 'alex_brushregular';
}
With our @font-face property working, let’s now use font-display to configure how and when the fonts are loaded.
Using font-display to Control Font Loading
With font-display, we can control exactly how we want to load our fonts. This can greatly improve the user experience when using custom fonts.
Sometimes, when using custom fonts, a user can encounter either a FOUT (flash of unstyled text) or a FOIT (flash of invisible text) when a page is first loaded.
Some browsers choose to show our text right away, even if the custom font is not loaded. The browser will revert to the custom font once it fully loads, but this creates a FOUT.
Other browsers will hide the text for a short period until the custom font load, causing a FOIT. If the font doesn’t load during the window of time, the browser will use a fallback font.
💡 Safe fallback font stacks
GitHub fallback font stack:
font-family: -apple-system, BlinkMacSystemFont, "Segoe UI", Roboto, Helvetica, Arial, sans-serif, "Apple Color Emoji", "Segoe UI Emoji", "Segoe UI Symbol";
WordPress fallback font stack:font-family: -apple-system,BlinkMacSystemFont,"Segoe UI",Roboto,Oxygen-Sans,Ubuntu,Cantarell,"Helvetica Neue",sans-serif;
To confront loading issues, font-display takes one of 5 values:
auto:This uses the browser’s default behavior, which will vary.block:The text is first hidden for a short period, but will change to the custom font when it becomes available. This one value is said to have an infinite swap period.swap:The text is never hidden and changes to the custom font when it becomes available. This also provides for an infinite swap period.fallback:The text is hidden for a very short period (the block period), then there’s a short swap period. If the custom font doesn’t load within the swap period, then it isn’t loaded at all.optional:The text is given a very brief block period to load (~100ms). If the font doesn’t load during that block period, the fallback font is used and the custom font is not loaded at all. However, the font is still downloaded and cached behind the scenes. This means that, on subsequent page loads, the custom font will become available in the cache and then will load instantly.
The optional value for font-display provides a robust solution to many font loading situations. Let’s add it to our own CSS.
@font-face {
    font-family: 'alex_brushregular';
    src: url('alexbrush-regular-webfont.woff2') format('woff2'),
         url('alexbrush-regular-webfont.woff') format('woff');
    font-weight: normal;
    font-style: normal;
  	font-display: optional;

}
Now our custom font will either load so quickly that the user will never experience a FOUT or a FOIT, or it won’t load at all. However, it will still download and load instantly upon refreshing or visiting more pages.
Practical Level of Browser Support
Things are shifting heavily toward WOFF and WOFF 2, so we can probably get away with:
@font-face {
  font-family: 'MyWebFont';
  src:  url('myfont.woff2') format('woff2'),
        url('myfont.woff') format('woff');
}
You could probably even get away with just WOFF2 these days.
@font-face {
  font-family: 'MyWebFont';
  src: url('myfont.woff2') format('woff2');
}
Understanding Font File Types
WOFF / WOFF2 (Web Open Font Format): Created for use on the web, and developed by Mozilla in conjunction with other organizations.
WOFF fonts often load faster than other formats because they use a compressed version of the structure used by OpenType (OTF) and TrueType (TTF) fonts. This format can also include metadata and license info within the font file.
WOFF2 is the next generation of WOFF and boasts better compression than the original.
SVG / SVGZ (Scalable Vector Graphics) : SVG fonts are not currently supported by major browsers.
SVGZ is the zipped version of SVG.
EOT (Embedded Open Type) : This format was created by Microsoft (the original innovators of @font-face) and is a proprietary file standard supported only by IE. In fact, it’s the only format that IE8 and below will recognize when using @font-face.
OTF / TTF (OpenType Font and TrueType Font) : The WOFF format was initially created as a reaction to OTF and TTF, in part, because these formats could easily (and illegally) be copied.
Font Services
There are a number of services that will host fonts and provide access to commercially-licensed fonts as well. The benefits of using a service often boil down to having a large selection of legal fonts delivered efficiently (e.g. serving them on a speedy CDN).
Here are a few hosted font services:
Web Font Generator Services
Here are a few font generator services:
How to Use Web fonts in CSS from a Font Repository
Google Fonts is probably the most popular font repository because all the fonts are free and have open source licenses. It provides a searchable, filterable list of fonts:
When you select your desired font on Google Fonts, it will show you a list of the font type and font weight variants. You can select the variants you are interested in and it will add them to cart. The cart by accessed by clicking the icon in the top right corner:
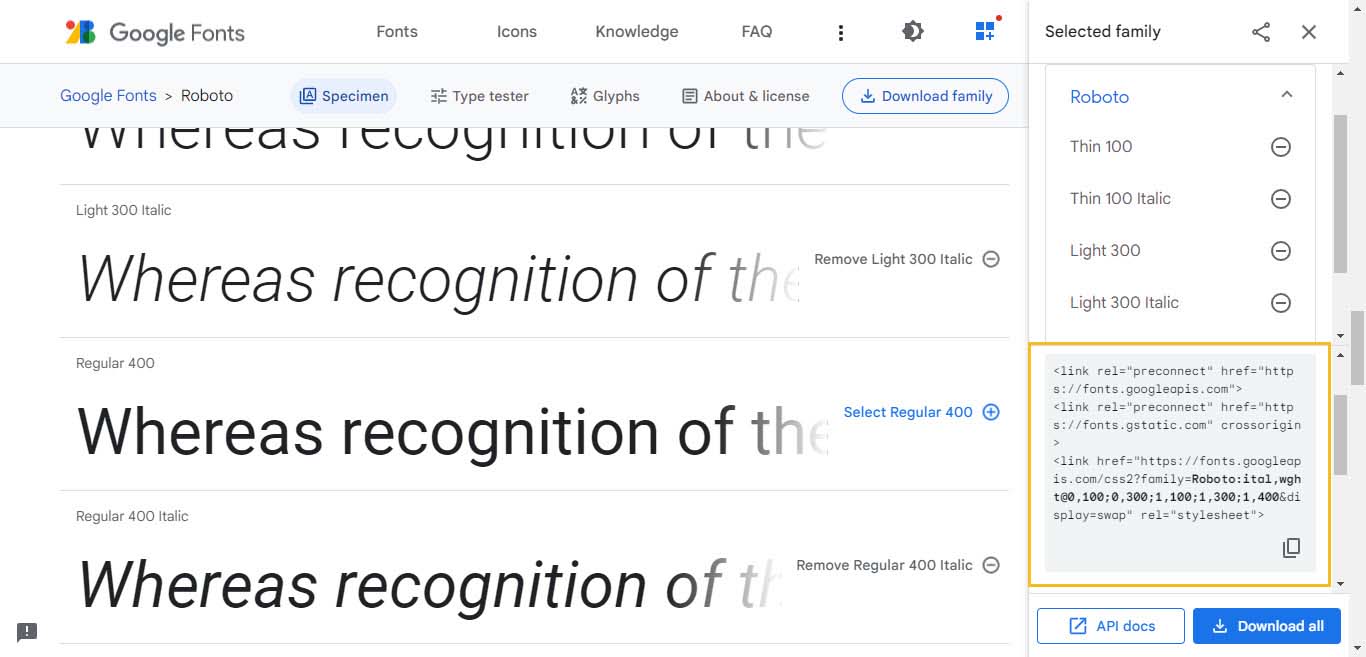
Inside the cart (right-side of screenshot above), you get two options for embedding your selected fonts to your webpage. You can add it using link element to the HTML, or you can add an @import statement to the CSS. Selecting the option will show you a code snippet that you can copy.
To embed a font in a page, use the standard <link> tag in the HTML head. It will look like this:
<link rel="preconnect" href="https://fonts.googleapis.com">
<link rel="preconnect" href="https://fonts.gstatic.com" crossorigin>
<link href="https://fonts.googleapis.com/css2?family=Roboto:ital,wght@0,100;0,300;1,100;1,300;1,400&display=swap" rel="stylesheet">
This contains some additional link elements that contain the preconnect keyword for the rel attribute.
These act as a hint to the browser that the user needs resources from the target resource’s origin, and therefore the browser can preemptively initiate a connection to that origin. This can speed up the downloading of the font files.
Alternatively, you can use a CSS @import:
<style>
  @import url('https://fonts.googleapis.com/css2?family=Roboto:ital,wght@0,100;0,300;1,100;1,300;1,400&display=swap');
</style>
The downside of this method is that this blocks the processing of further style sheets until the font styles have been parsed, but this can be mitigated.
There is a display parameter in the URL, which is used to set the font-display descriptor for the font.
This lets you control what happens while the font is unavailable. The value swap gives the font face an extremely small block period (100ms or less is recommended in most cases) and an infinite swap period.
Specifying a value other than the default auto is usually appropriate as it does not block processing.
The font can then be used in CSS through the font-family or font properties:
body {
  font-family: 'Roboto', sans-serif;
}
You can optimize the request by modifying the URL. For example, you can request multiple font families using family parameter:
https://fonts.googleapis.com/css2?family=Crimson+Pro&family=Literata
You can also request other individual styles, such as specific weights, using a special notation. For example, to request weights 400 and 700 for the Crimson Pro font, the URL looks like this:
https://fonts.googleapis.com/css2?family=Crimson+Pro:wght@400;700
Resource
- Avoid flash of invisible text
- Link types: preconnect
- CSS API update
- The Best Font Loading Strategies and How to Execute Them
Conclusion
In this tutorial, we downloaded a custom font and used the @font-face property to add it to a webpage. We then used the font-display property to manage how the custom font will load, if at all.
The @font-face rules gives you the flexibility to use very different typefaces for your website, and that’s way awesome. But there is one thing you should take note.
When using @font-face, you should try to only include fonts you need since they can slow down page load speeds dramatically. Whenever possible, try to use fonts hosted on CDN services like Google Webfonts instead of using @font-face to host your own fonts.


Add comment