
Vite is a new frontend build tool that aims to improve the developer experience for development with the local machine, and for the build of optimized assets for production (go live).
Vite includes:
- A development server with ES native support and Hot Module Replacement.
- A build command based on rollup.js to output highly optimized static assets for production.
Vite is developed by the creator of VueJS. But one of the most important feature of Vite is that is frontend agnostic. So you can use Vite with Vue, but also with React.
What is Hot Module Replacement (HMR)?
Hot Module Replacement is a feature that enables you to see code changes in the browser without having to refresh it, allowing you to preserve the state of your front-end application.
In this post I would like to show you how to use Vite with React and show how is amazing fast the building phase.
How to Install Vite
Well, you are just a step closer to installing Vite. Without having you wait, let’s move ahead.
Gentle Reminder – It’s necessary to install Node on your system to proceed further.
Step 1 — Creating a Vite Project
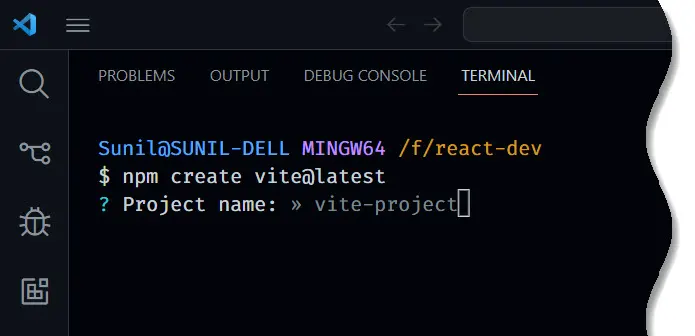
To create a project using Vite you first go into the folder where you host all your projects, in my case it’s a react-dev folder. Then run the following command:
With NPM:
npm create vite@latestWith Yarn:
yarn create viteChoose a name for the project. That will also be the project’s folder name. In this case “learn-axios”:
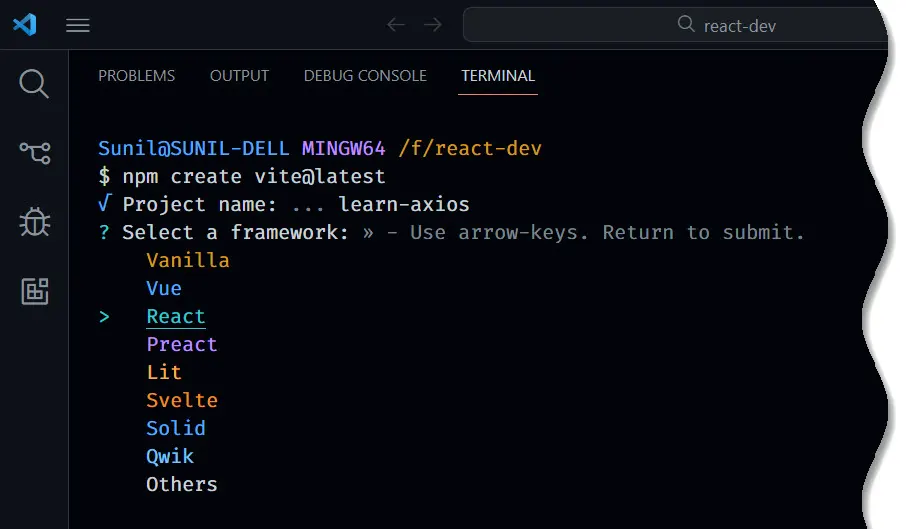
After entering your project name, Vite will prompt you to select a framework. Pick “React”.
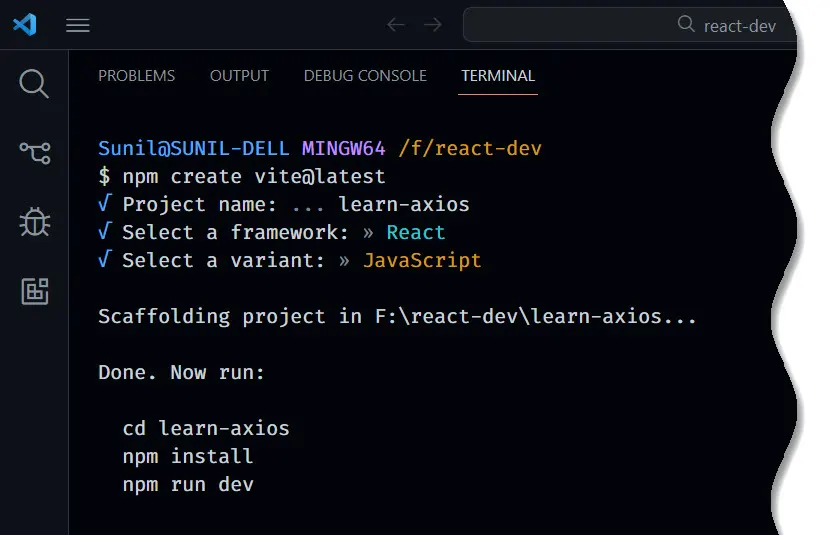
After selecting the React framework, Vite will prompt you to choose the language type.

You can use JavaScript or TypeScript to work on your project. You can optionally use SWC.
After setting up the framework, you will see an output that the project has been scaffolded. Vite will then instruct you to install dependencies using npm:
Navigate to your project folder as directed:
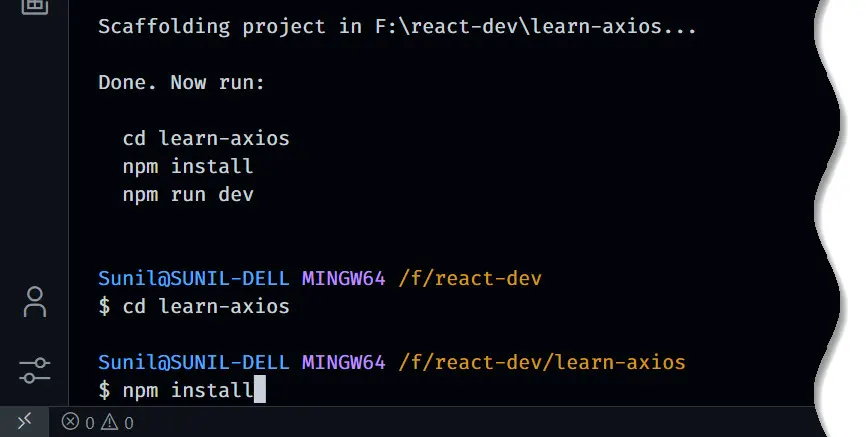
Then, use the npm or yarn command to install the dependencies of the project:
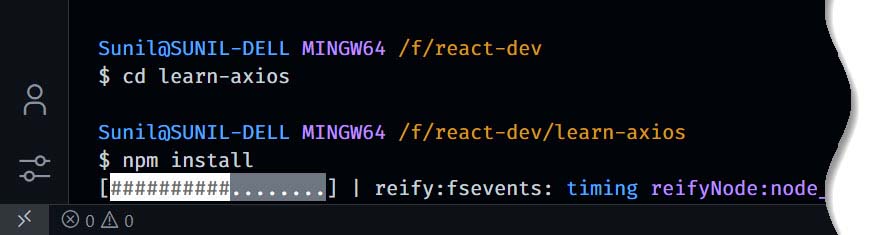
You have now set up a new React project using Vite and installed the packages required by React and Vite.
Next, you will start the development server to test the application.
Step 2 — Starting the Development Server
In this step, you will start the development server to verify that everything is working.
From inside the learn-axios folder, use the following command to run the development server:
npm run devThis command is an alias of the vite command. It will run your project in development mode.
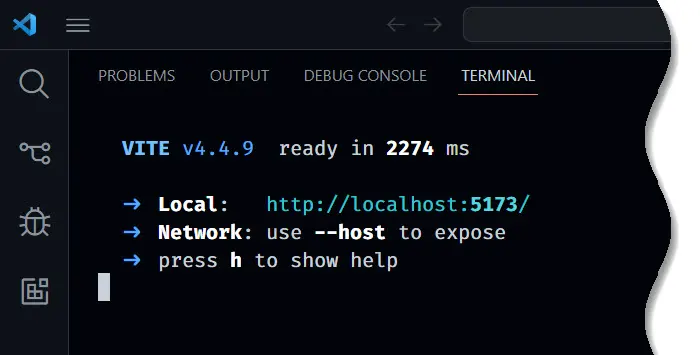
You will receive the following output:
Next, open your browser and visit http://localhost:5173/. The default React project will be running on port 5173:
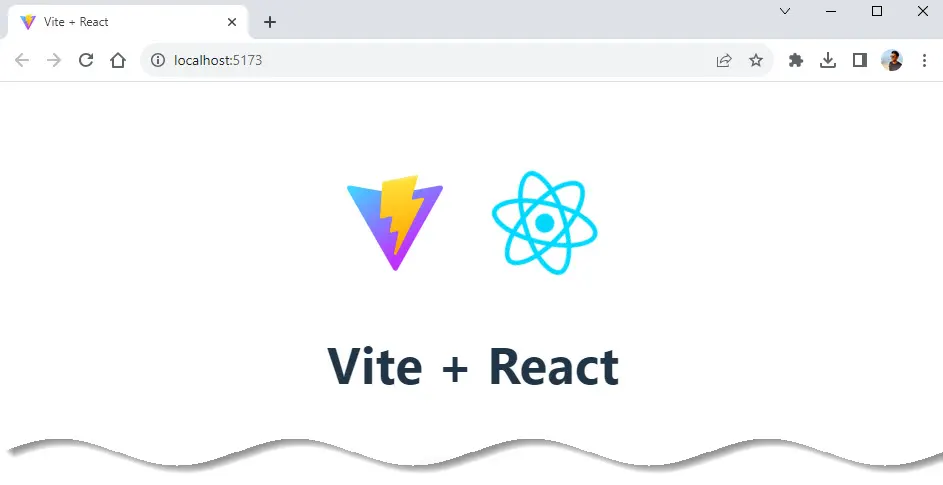
When you see this app running, you have successfully installed React with Vite.
Here’s the application folder opened in VS Code.
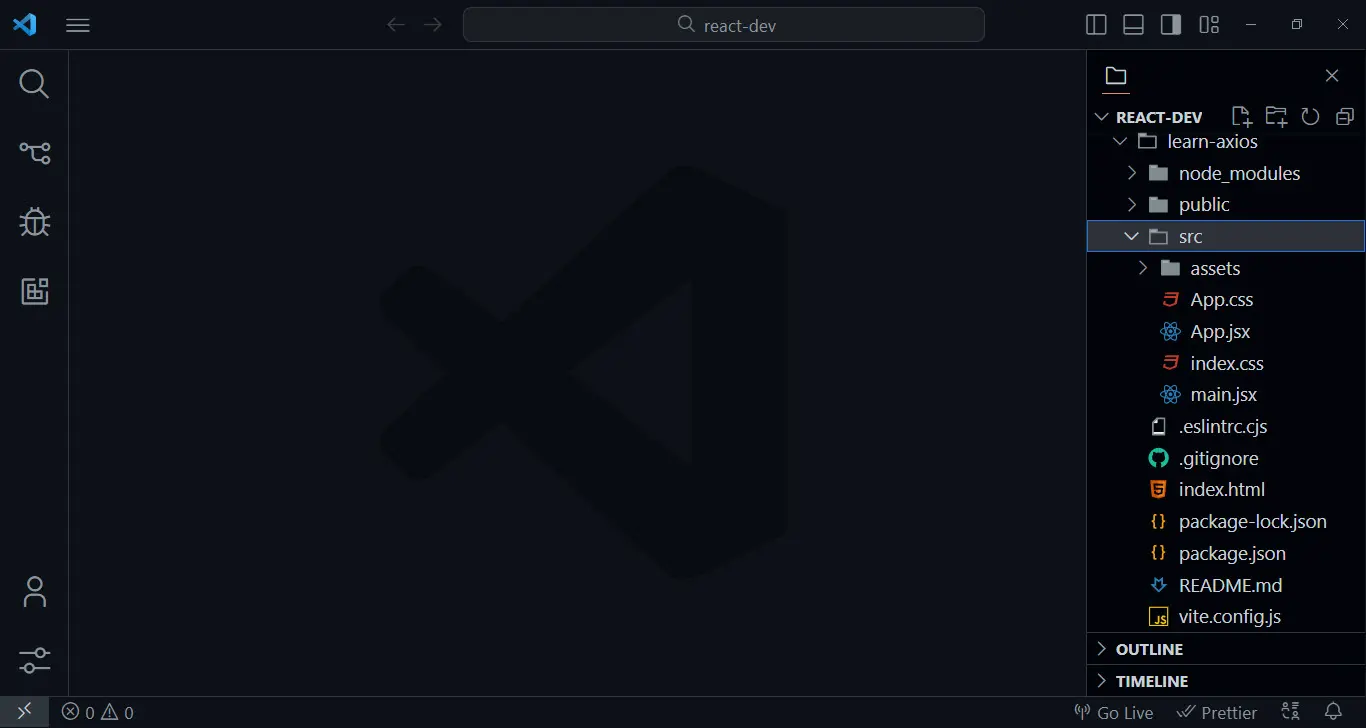
As you can see, Vite created a basic application and you can now open src/App.jsx to start working on it.
Next, you will preview your app from your mobile phone.
Step 3 — Previewing Your App from Mobile Phone
Vite does not expose your development application to your network by default. In this step, you will expose the app to your local network to preview it from your mobile phone.
To run your app in your local network, you have to stop the current server first. In your terminal, use CTRL+C to terminate the currently running development server.
Next, use the following command to run your project:
npm run dev -- --hostThe --host flag tells Vite to expose your app to the local network.
You will receive this output in your terminal:
VITE v4.4.9 ready in 747 ms

➜ Local: http://localhost:5173/
➜ Network: http://your_ip_address:5173/
➜ press h to show help
This is a local IP address, unique to your computer network or router.
Open a browser on your mobile phone, then type in the above IP address and port to access the preview of your Vite app from your mobile phone:
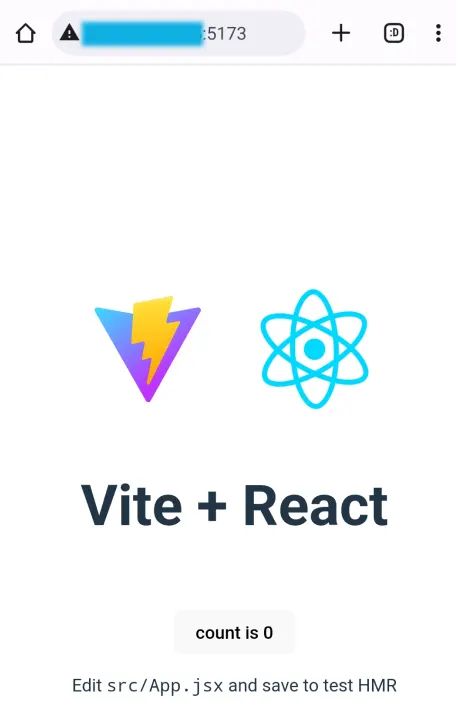
You have now run your app in the development environment and verified it works. In the next and final step, you will build an optimized app bundle for deployment.
Step 4 — Building for Production
In this step, you will build an optimized app bundle ready to deploy to a server. To create a build, run the following command into the terminal:
npm run buildThis command creates a new dist folder with minified source files that you can deploy to your server for production.
You can now deploy the contents of the dist folder to a server online. If you have an Apache or Nginx server, you can upload the contents manually.
You can also use an app platform to run the build script and generate the build files automatically.
Conclusion
In this tutorial, you created a new React App using the Vite tool. You scaffolded a fresh React App with the npm create vite@latest command.
Finally, you created an optimized bundle using the npm run build command, ready to deploy.


Add comment