
Sometimes we want to show a React component when a condition yields true. It is called Conditional Rendering. It is a powerful tool for creating dynamic and engaging user interfaces in React applications.
In this article, you will examine various ways to implement conditional rendering in React applications.
What Is React Conditional Rendering?
In React, conditional rendering is the process of displaying different content based on certain conditions or states. It allows you to create dynamic user interfaces that can adapt to changes in data and user interactions.
This concept is applied often in the following scenarios:
- Rendering external data from an API.
- Showing or hiding elements.
- Toggling application functionality.
- Implementing permission levels.
- Handling authentication and authorization.
How to Implement React Conditional Rendering
There are several techniques that you can use for conditional rendering in React. Let’s explore each of them in detail.
Method 1: Using the if Statement for Conditional Rendering
One of the most straightforward ways to implement conditional rendering in React is by using the traditional if statement.
if (condition) {
  return <p>Expression 1</p>;
} else {
  return <p>Expression 2</p>;
}
The JavaScript’s if statement can be used inside your component’s render() method to conditionally render content based on a certain condition.
Let’s observe the example below.
First, you will create two components: a HeaderComponent file that contains the JSX that will be rendered when the user logs in, as shown below:
HeaderComponent.jsx
import React from 'react';

const HeaderComponent = (props) => {
  return (
    <>
      <h1> Welcome {props.username}! </h1>
    </>
  );
};

export default HeaderComponent;
Then create a NotLoggedIn file to house the JSX that will be rendered when the user is not logged in, as shown below:
NotLoggedIn.jsx
import React from 'react';

const NotLoggedIn = () => {
  return (
    <>
      <h2> No User Found </h2>
    </>
  );
};

export default NotLoggedIn;
Then, import the two components into the App file and add an if-else condition before the return statement that will assign either of the components to the {template} depending on whether the isLoggedIn state is true or false:
App.jsx
import HeaderComponent from './HeaderComponent';
import NotLoggedIn from './NotLoggedIn';
import { useState } from 'react';
function App() {
const [isloggedIn, setIsLoggedIn] = useState(true);
let template;
if (isloggedIn) {
template = <HeaderComponent username="Sunil" />;
} else {
template = <NotLoggedIn />;
}
return <>{template}</>;
}
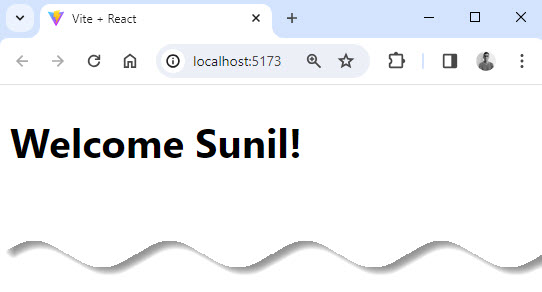
export default App;When a user logs in, the state is set to true, and the welcome message from the HeaderComponent is displayed to the user as follows:
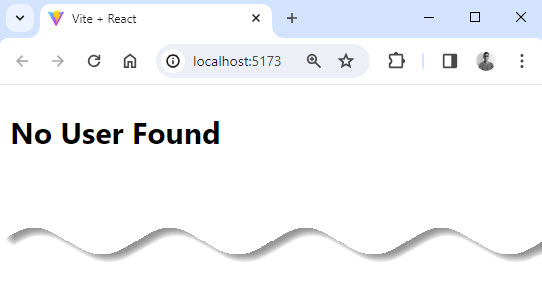
If the user is not logged in, the state is set to false, and the following message is displayed from the NotloggedIn component:
Conditionally returning nothing with null
In some situations, you won’t want to render anything at all. To implement such functionality in React, use ‘null’ as the rendered template.
Using ‘null’ will result in nothing being rendered and will also prevent errors due to no template being returned.
As an example, suppose you have a food ordering application that only renders a page to edit orders for specific users with permission rights, while users with none are rendered nothing.
For this create an EditComponent file that will contain a welcome message and a button interface for editing food orders:
EditComponent.jsx
import React from 'react';

const EditComponent = (props) => {
  return (
    <div>
      <h1> Welcome {props.username}! </h1>
      <button>Edit</button>
    </div>
  );
};

export default EditComponent;
Import the EditComponent into the App file and add a state isHasPermission to check if the user has the permission to edit.
Then, add a condition that checks if the user has editing permission and returns the EditComponent or null depending on whether the state is true or false:
App.jsx
import EditComponent from './EditComponent';
import { useState } from 'react';

function App() {

  const [isHasPermission, setIsHasPermission] = useState(true);
  let template;
  if (isHasPermission) {
    template = <EditComponent username="Sunil" />;
  } else {
    template = null;
  }

  return (
    <>
      <div>
        <ul>
          <li> Pasta </li>
          <li> Rice </li>
          <li> Dairy </li>
          <li> Eggs </li>
        </ul>
      </div>
      {template}
    </>
  );
}

export default App;
If the user has permission, the state is set to true and the EditComponent is rendered as follows:

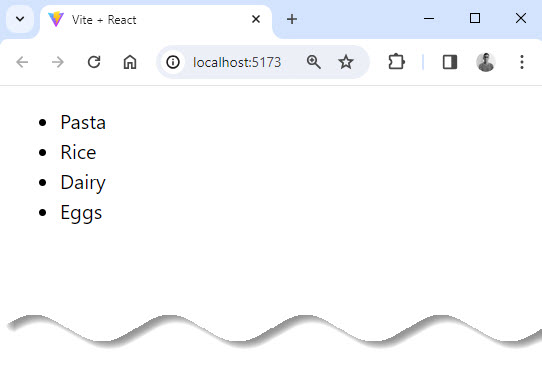
If the user has no permission, the state is set to false and null is rendered as the template:
Method 2: Conditional Rendering With Switch Statements
There are times when you may want to show a different UI to users based on the state of the application, such as the user’s value or dealing with multiple conditions. The JavaScript Switch statement is ideal for this functionality.
Switch statements are not part of the JSX syntax so they cannot be used directly within React. You can, however, use the Switch statements in a subcomponent before using the component in the main component.
📣 Also Read: JSX in React – For Absolute Beginners
In the following example, you will use Switch statements to render different content based on a specific case.
You will create an input that takes the user’s value and renders the components the user requests.
What is rendered to the user is determined by what the user enters as the case.
Let’s observe the example below.
SwitchComponent.jsx
import React from 'react';

const SwitchComponent = (props) => {
  switch (props.route) {
    case 'home':
      return <h1> You are Home </h1>;
    case 'about':
      return <h1> Check Us Out </h1>;
    case 'learn':
      return <h1> Come and Learn the mind blowing stuffs </h1>;
    default:
      return null;
  }
};

export default SwitchComponent;
Now type the following code into your App.jsx file:
App.jsx
import SwitchComponent from './SwitchComponent';
import { useState } from 'react';
function App() {
const [path, setPath] = useState('');
return (
<>
<input onChange={(e) => setPath(e.target.value)} />
<h1>Hello World!</h1>
<SwitchComponent route={path} />
</>
);
}
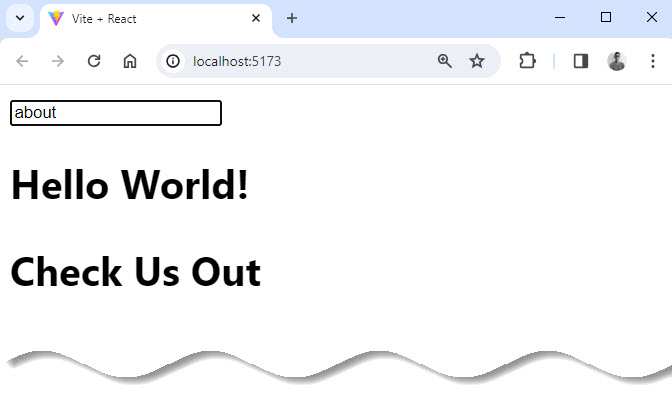
export default App;The component will render based on what the users enter as follows:
Method 3: Using the Ternary Operator for Conditional Rendering
The ternary operator is synonymous with the ‘if-else’ operator. The only difference between the ternary operator and the ‘if-else’ statement is in the implementation, as JSX supports the use of ternary operators.
So the ternary operator allows you to write a compact inline if-else statement by specifying 3 operands.
The first operand is the condition, while the other two operands are the expressions.
If the condition is true, the first expression will be executed; otherwise, the second expression.
Let’s observe the example below.
In this example, we have a component App that renders different content based on the isLoggedIn state. Initially, isLoggedIn is set to false using the useState hook.
Also Read: useState in React: A Complete Guide
When the user clicks on the “Login” button, the handleLogin function is called, which sets the isLoggedIn state to true. Similarly, when the user clicks on the “Logout” button, the handleLogout function is called, which sets the isLoggedIn state to false.
LoginLogout.jsx
import { useState } from 'react';
const LoginLogout = () => {
const [isLoggedIn, setIsLoggedIn] = useState(false);
const handleLogin = () => {
setIsLoggedIn(true);
};
const handleLogout = () => {
setIsLoggedIn(false);
};
return (
<div>
{isLoggedIn ? (
<div>
<h1>Welcome Back!</h1>
<button onClick={handleLogout}>
Logout
</button>
</div>
) : (
<div>
<h1>Please Login</h1>
<button onClick={handleLogin}>
Login
</button>
</div>
)}
</div>
);
};
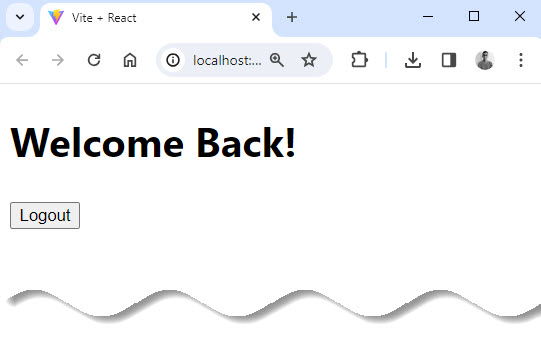
export default LoginLogout;The return statement of the LoginLogout component uses a ternary operator to render different content based on the value of isLoggedIn. If isLoggedIn is true, it renders a welcome message and a “Logout” button. If isLoggedIn is false, it renders a message asking the user to login along with a “Login” button.
App.jsx
import LoginLogout from './LoginLogout';

function App() {
  return (
    <>
      <LoginLogout />
    </>
  );
}

export default App;
Output:
Method 4: Using Logical AND (&&) and OR (||) Operators (Short Circuit Evaluation)
Short-circuiting is how JavaScript handles logical expression evaluation, but the logical && and || operators work slightly differently in React.
The logical AND operator allows you to render a component only if a certain condition is true, while the logical OR operator allows you to render a component if either of the conditions is true.
Let’s observe the example below.
ShortCircuit.jsx
import React from 'react';
const ShortCircuit = () => {
const isOpen = true;
const isAvailable = false;
return (
<div>
{isOpen && (
<>
<h1>Hello World - &&</h1>
</>
)}
{isAvailable || (
<>
<h1>Hello World - ||</h1>
</>
)}
</div>
);
};
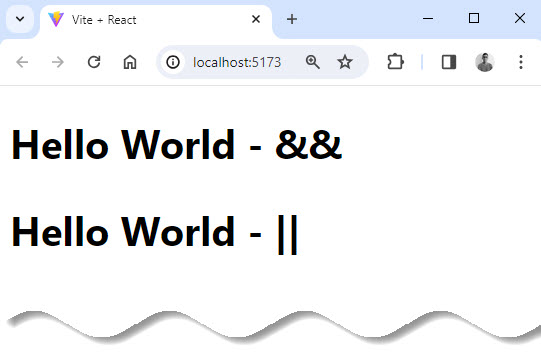
export default ShortCircuit;App.jsx
import ShortCircuit from './ShortCircuit';

function App() {
  return (
    <>
      <ShortCircuit />
    </>
  );
}

export default App;
Output:
Conclusion
In this article, we went over what conditional rendering is and how to implement it with the most common ways it is used in React.
Generally, developers don’t use if else or switch statement inside JSX for conditional rendering. Because it takes more lines of code with if else or switch statement than ternary operator or logical operator.
The ternary operator may be more useful when there are multiple conditions to check, while the logical operator can be simpler and more concise when there is only one condition.
So using and understanding conditional rendering in React is very important because you are likely to see it used frequently in React components.
That’s it.😃 Thanks for reading.🎉


Add comment