
React Hooks came as a new addition in React 16.8 and they let us use state and other React features without writing a class component.
In this article, we will learn about useState hook in React, why it is used and learn it’s implementation with the help of examples.
What is React useState Hook?
When creating a React app, we will almost always need a way to manage state within our component — the useState hook allows us to do this in a cleaner and more concise way.
React Hooks are the result of a continuous rise in functional programming over the years.
So useState hook is a built-in way to add state to functional components in React. More, the useState hook can conveniently hold strings, arrays, numbers, objects and much more.
To use the useState hook, you need to know a few things:
- You must import it from the React library
- You must invoke it inside a React component
- You can then freely render state, or call setState to update your state value
And here is the simplest fully functional example you can have:
📣 Also Read: Using Vite to create a new React app
CounterExample.jsx
import React, { useState } from 'react'; //Step 1
const CounterExample = () => {
const [state, setState] = useState(1); //Step 2
return (
<section>
{/* Step 3 */}
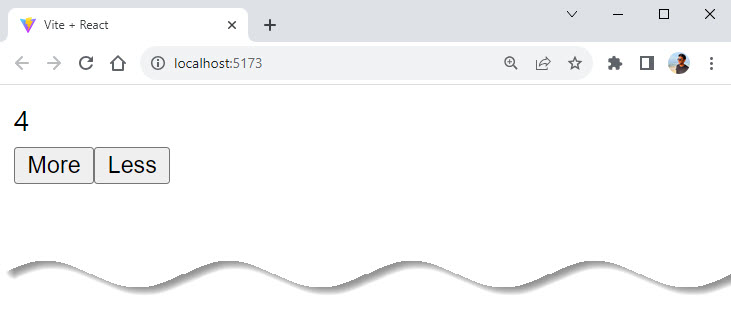
<div>{state}</div>
<button onClick={() => setState(state + 1)}>More</button>
<button onClick={() => setState(state - 1)}>Less</button>
</section>
);
};
export default CounterExample;
App.jsx
import './App.css';
import CounterExample from './CounterExample';

function App() {
  return (
    <>
      <CounterExample />
    </>
  );
}

export default App;
Output:
How Does useState Hook Work?
The state of our application is bound to change at some point. This could be the value of a variable, an object, or whatever type of data exists in our component.
To make it possible to have the changes reflected in the DOM, we have to use useState hook in React. The useState hook works by handling and managing state in our applications.
Here is another example:
ChangeName.jsx
import React, { useState } from 'react';

const ChangeName = () => {
  const [name, setName] = useState('Anil');

  const changeName = () => {
    setName('Sunil');
  };

  return (
    <div>
      <p>My name is {name}</p>
      <button onClick={changeName}> Click me </button>
    </div>
  );
};

export default ChangeName;
App.jsx
import './App.css';
import ChangeName from './ChangeName';

function App() {
  return (
    <>
      <ChangeName />
    </>
  );
}

export default App;
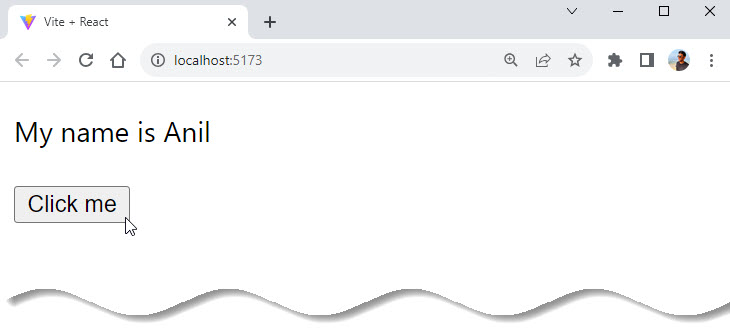
Output:
Let’s look a bit more closely at what’s going on in the code above.
import { useState } from "react";To be able to use this hook, we have to import the useState hook from React. We are using a functional component called ChangeName.
const [name, setName] = useState("Anil");After that, we have to create our state and give it an initial value (or initial state) which is “Anil”. The state variable is called name, and setName is the function for updating its value.
Having a good understanding of some of the ES6 features will help you grasp the basic functionalities of React.
Above, we used ES6 destructuring assignment to assign an initial name value to the state in useState("Anil").
💡 useState Hook Setter Function
useState hook takes the first (initial) value of the state variable as its argument. The second value then sets our state.Example:
const [state, setState] = useState(initialValue)
const [counter, setCounter] = useState(initialCount)
const [something, setSomething] = useState(initialSomething)
In the case of the first render, it returns the initial state and updates to a different value during the re-render using the setter function.
Next, the DOM has a paragraph containing the name variable and a button which fires a function when clicked.
return (
    <div>
      <p>My name is {name}</p>
      <button onClick={changeName}> Click me </button>
    </div>
  );
}
The changeName() function calls the setName() function which then changes the value of the name variable to the value passed in to the setName() function.
For React beginners, note that you create your functions and variables before the return statement.
Conditional Rendering with the useState Hook
This example allows us to update state depending on two conditions: if the user is logged in or not. This also explains why the initial state is set to false, to mean the user is not logged in.
We are going to create a login button that uses the useState hook to render two different outcomes.
One is a sign-in button with a message asking the user to sign in. The other is a button that, once the user is signed in, gives them the choice to sign out.
ConditionalRendering.jsx
import React from 'react';

const ConditionalRendering = () => {
  return (
    <>
      <div>
        <button type="button">Sign Out</button>
        <p>Welcome back, good to see you in here</p>
      </div>
      <div>
        <button type="button">Sign In</button>
        <p>Please Sign in</p>
      </div>
    </>
  );
};

export default ConditionalRendering;
App.jsx
import './App.css';
import ConditionalRendering from './ConditionalRendering';

function App() {
  return (
    <>
      <ConditionalRendering/>
    </>
  );
}

export default App;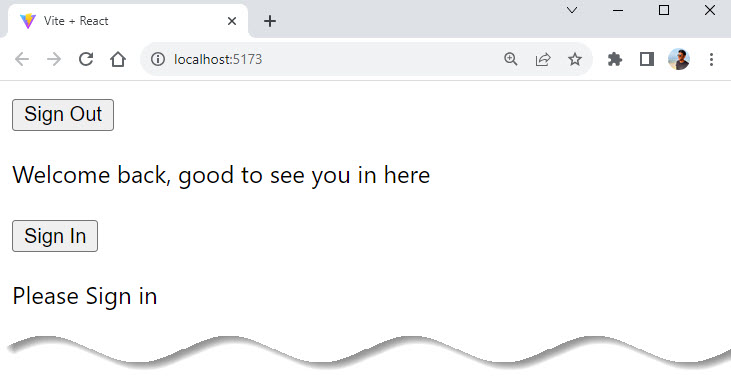
To implement the sign in and sign out functionalities, we will have to import useState. Then we will need to use conditional rendering to specify how the buttons will respond to a click.
ConditionalRendering.jsx
import React, { useState } from 'react';

const ConditionalRendering = () => {
  const [signedin, setSignedin] = useState(false);

  const handleSignin = () => {
    setSignedin(true);
  };

  const handleSignout = () => {
    setSignedin(false);
  };

  return (
    <>
      {signedin ? (
        <div>
          <button type="button" onClick={handleSignout}>
            Sign Out
          </button>
          <p>Welcome back, good to see you in here</p>
        </div>
      ) : (
        <div>
          <button type="button" onClick={handleSignin}>
            Sign In
          </button>
          <p>Please Sign in</p>
        </div>
      )}
    </>
  );
};

export default ConditionalRendering;
Output:
What’s happening in the code above?
First, we created a variable with the useState hook that sets signedin to false. Why? Because on the first load, we don’t want the user to be signed in. But once they click the sign in button, they can get in.
Also, note that we imported the useState hook at the top.
We then created variables that handle signing in, signing out, and setting the set function to true and false, respectively – that is handleSignin and handleSignout.
After that, we created an onClick handler that listens for a click on the button and triggers an action. This action is directed by the Conditional (ternary) Operator.
💡 JavaScript Ternary Operator
?), then an expression to execute if the condition is truthy followed by a colon (:), and finally the expression to execute if the condition is falsy.Also remember, this operator is frequently used as an alternative to an
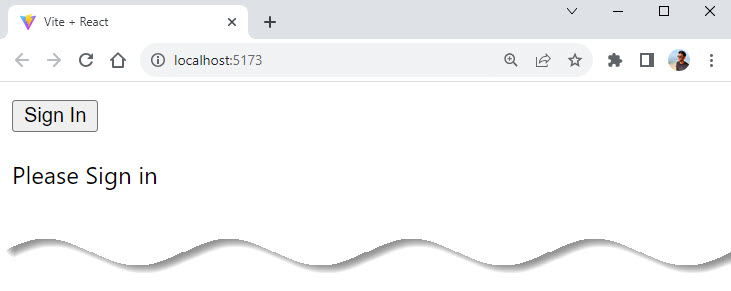
if…else statement.This means that if we click the sign in button, we receive the welcome message. Once we click the sign out button, we are prompted to sign in, with the ‘please sign in’ message.
How to Use the useState Hook in a Form in React
Forms utilize useState by allowing the developer to set an empty state that uses the setter function to handle what the user type in as their input.
Here, we basically want to collect the name and email of users through a form and then submit the information.
Below is a simple form to demonstrate how the useState hook makes this possible.
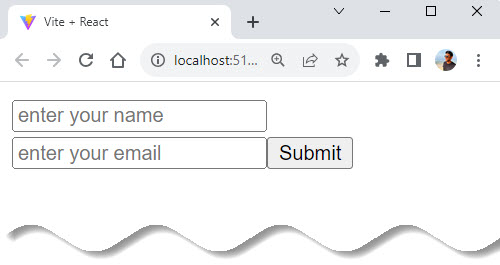
Here’s the form we will be working with:
FormUseState.jsx
import React from 'react';

const FormUseState = () => {
  return (
    <div>
      <form>
        <input type="text" placeholder="enter your name" required />
        <input type="email" placeholder="enter your email" required />
        <button type="submit">Submit</button>
      </form>
    </div>
  );
};

export default FormUseState;
App.jsx
import './App.css';
import FormUseState from './FormUseState';

function App() {
  return (
    <>
      <FormUseState />
    </>
  );
}

export default App;
Output:
First we need to import useState hook to our file. After that, use the useState hook to set the name and email to null as we wait for the user to input their details.
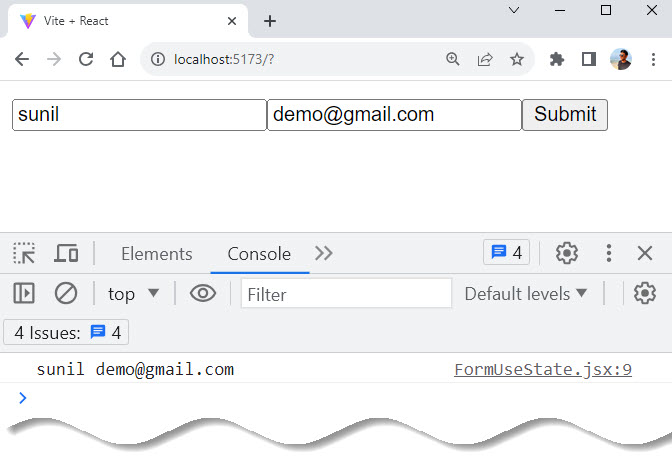
Afterwards, we will create an arrow function with the handleSubmit that executes the preventDefault() method. console.log the name of the user and their email so we can get these details using the onSubmit() event handler.
Once that’s done we can then use the setter function for both the name and email to target a change in the input and get the value of the input which we initialized as user and email in our useState hook.
Here, we use the onChange event listener which waits for any value change in the input field.
Whenever there is a change, an anonymous function (which takes in the event object as a parameter) is fired which in turn calls the setUser() and setEmail() function to update the user and email variable with the current value of the input field.
Remember that the useState hook uses that setter function for re-rendering. In this, we are re-rendering the new values the user has added in the form. That’s why we are setting the value in our input as value={user} and value={email}.
FormUseState.jsx
import React, { useState } from 'react';

const FormUseState = () => {
  const [user, setUser] = useState('');
  const [email, setEmail] = useState('');

  const handleSubmit = (e) => {
    e.preventDefault();
    console.log(user, email);
  };

  return (
    <div>
      <form onSubmit={handleSubmit}>
        <input
          type="text"
          placeholder="enter your name"
          onChange={(e) => {
            setUser(e.target.value);
          }}
          value={user}
          required
        />

        <input
          type="email"
          placeholder="enter your email"
          onChange={(e) => {
            setEmail(e.target.value);
          }}
          value={email}
          required
        />
        <button type="submit">Submit</button>
      </form>
    </div>
  );
};

export default FormUseState;
Result:
Updating State Based on the Previous State
To update state based on the previous state in React, we can use a function that takes in the previous state as an argument, instead of directly passing the new state.
Here’s an example of how we might update state based on the previous state using useState hook:
HookCounter.jsx
import React, { useState } from 'react';

const HookCounter = () => {
  const [count, setCount] = useState(0);

  const incrementCount = () => {
    setCount((prevCount) => prevCount + 1);
  };

  return (
    <div>
      <p>You clicked {count} times</p>
      <button onClick={incrementCount}>click</button>
    </div>
  );
};

export default HookCounter;
App.jsx
import './App.css';
import HookCounter from './HookCounter';

function App() {
  return (
    <>
      <HookCounter />
    </>
  );
}

export default App;
Output:
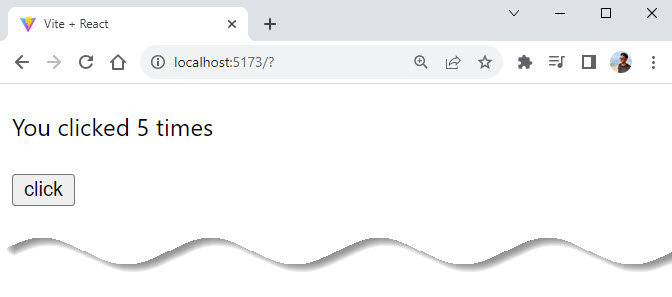
In this example, we are using an updater function that takes in the previous state (prevCount) as an argument, and returns the updated state (prevCount + 1).
With this pattern, we can ensure that the state updates correctly, even if multiple updates are made at one time because the function is called with the current value of the state, ensuring that it always has access to the current state when finding the new value.
Using Multiple State Variables
To use multiple state variables in a functional component using the useState hook, we simply need to call the hook multiple times, once for each piece of state that we want to add.
Each call to useState will return a separate array containing the current state and a function to update it.
const App = () => {
const [name, setName] = useState("Sunil");
const [age, setAge] = useState(20);
const [hobby, setHobby] = useState("reading");
return (
// ...
);
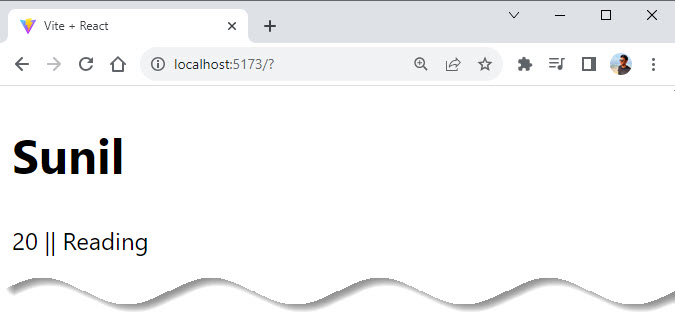
};In the above example, we have name, age, and hobby as different state variables, and we can update them individually with different functions.
But creating individual states for data that you can combine into one state won’t be advisable when working with real-life data. Rather, we can combine all these into an object and then access them within our JSX via the dot operator:
MultipleState.jsx
import React, { useState } from 'react';

const MultipleState = () => {
  const [userDetails, setUserDetails] = useState({
    name: 'Sunil',
    age: 20,
    hobby: 'Reading',
  });

  return (
    <div>
      <h1>{userDetails.name}</h1>
      <p>
        {userDetails.age} || {userDetails.hobby}
      </p>
    </div>
  );
};

export default MultipleState;
App.jsx
import './App.css';
import MultipleState from './MultipleState';

function App() {
  return (
    <>
      <MultipleState />
    </>
  );
}

export default App;
Result:
Another way to do this, if we don’t want to use the dot operator, would be to destructure. When we have nested objects, this method would no longer be ideal, but since we have few items, we can destructure.
MultipleState.jsx
import React, { useState } from 'react';

const MultipleState = () => {
  const [{ name, age, hobby }, setUserDetails] = useState({
    name: 'Sunil',
    age: 20,
    hobby: 'Reading',
  });

  return (
    <div>
      <h1>{name}</h1>
      <p>
        {age} || {hobby}
      </p>
    </div>
  );
};

export default MultipleState;
Using an Object as a State Variable
When working with real-life data, there is a high tendency that these data will be received as an object that we might struggle with when calling or updating.
For example, if we have a nested object with the user’s details, we can call data with the dot operator noting how they are nested.
UseStateObject.jsx
import React, { useState } from 'react';
const UseStateObject = () => {
const [userDetails, setUserDetails] = useState({
myName: {
firstName: 'Sunil',
lastName: 'Pradhan',
},
age: 20,
hobby: 'Reading',
});
return (
<div>
<h1>
Hello {userDetails.myName.firstName} {userDetails.myName.lastName},
</h1>
<p>
{userDetails.age} || {userDetails.hobby}
</p>
</div>
);
};
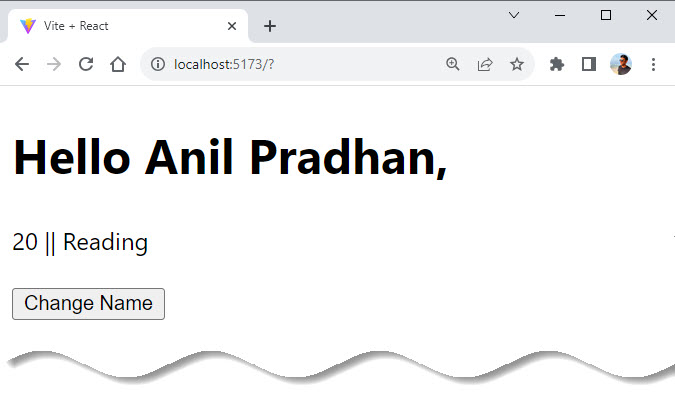
export default UseStateObject;We can update a particular data and then use the spread operator to ensure that other data are copied back into the object.
Spread Operator(…) & useState
For example, if we want to update the first when a button is clicked, it changes from Sunil to Anil:
UseStateObject.jsx
import React, { useState } from 'react';

const UseStateObject = () => {
  const [userDetails, setUserDetails] = useState({
    userName: {
      firstName: 'Sunil',
      lastName: 'Pradhan',
    },
    age: 20,
    hobby: 'Reading',
  });

  const changeName = () => {
    setUserDetails({
      ...userDetails,
      userName: {
        ...userDetails.userName,
        firstName: 'Anil',
      },
    });
  };

  return (
    <div>
      <h1>
        Hello {userDetails.userName.firstName} {userDetails.userName.lastName},
      </h1>
      <p>
        {userDetails.age} || {userDetails.hobby}
      </p>
      <button onClick={changeName}>Change Name</button>
    </div>
  );
};

export default UseStateObject;
In the code above, a changeName function is created that will be triggered when the button is clicked. In this function, we changed the firstName.
It is important to note that if we decide only to change the firstName, the other information will disappear. This means we have to add the previous data to our object with the spread operator.
const changeName = () => {
    setUserDetails({
        // copy all other object values
        ...userDetails,
        // recreate the nested object that contains the field to update
        userName: {
            // copy all the values of the object
            ...userDetails.userName,
            // overwrite the value to update
            firstName: 'Anil',
        },
    });
};
This can be very tricky when dealing with multiple nested objects. Still, when we bear this in mind, we first copy all the object keys/values using the spread operator.
We then create the nested object we want to update, then call all its values, and so on, till you get to the point where the value we want to update is located; then, we will update the value.
Result:
Lets see one more example to solidify our understanding on useState hook while using in objects.
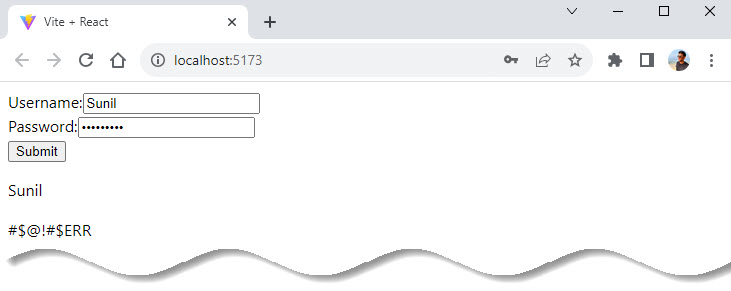
In this example, the data variable is used to temporarily store the entered values for the username and password fields. The spread operator is used again, to copy the existing value of the fields and update it accordingly.
The form variable is used to store the value of the values submitted through the form used in the component – which is then displayed below the form.
Note that the spread operator isn’t used with setForm() while updating the form state variable for the simple reason that one does not need to be bothered about the previously submitted values of the username and password fields.
RegForm.jsx
import React, { useState } from 'react';

const RegForm = () => {
  const [data, setData] = useState({
    username: '',
    password: '',
  });

  const [form, setForm] = useState({
    username: '',
    password: '',
  });

  const [submit, submitted] = useState(false);

  const updateField = (e) => {
    setData({
      ...data,
      [e.target.name]: e.target.value,
    });
  };

  const printValues = (e) => {
    e.preventDefault();
    setForm({
      username: data.username,
      password: data.password,
    });
    submitted(true);
  };

  return (
    <div>
      <form onSubmit={printValues}>
        <label>
          Username:
          <input value={data.username} name="username" onChange={updateField} />
        </label>
        <br />
        <label>
          Password:
          <input
            value={data.password}
            name="password"
            type="password"
            onChange={updateField}
          />
        </label>
        <br />
        <button>Submit</button>
      </form>

      <p>{submit ? form.username : null}</p>

      <p>{submit ? form.password : null}</p>
    </div>
  );
};

export default RegForm;
App.jsx
import './App.css';
import RegForm from './RegForm';

function App() {
  return (
    <>
      <RegForm />
    </>
  );
}

export default App;
Output:
Using an Arrays as a State Variable
useState hook works differently from the setState() function (which is used to change the value of state variables in class-based components) when it comes to using arrays.
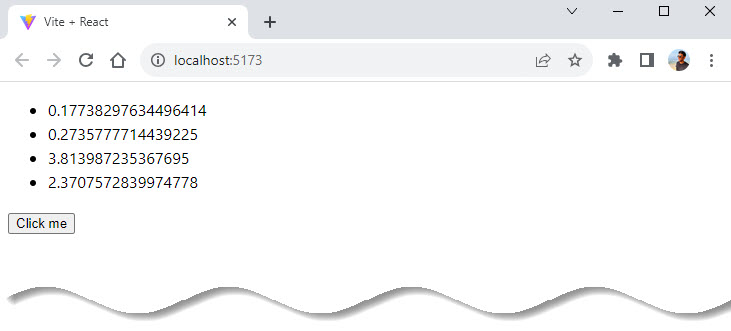
Here setClick() does not merge new values with the existing ones on being called, it simply overwrites them with the new value.
Hence, it is necessary to find a workaround for appending the existing values, which is done inside the addNumber() internal function with the help of the spread operator.
The function creates a new variable with a certain id and value and adds it to the existing array (whose values are copied into the function using the spread operator).
ArrayExample.jsx
import React, { useState } from 'react';

const ArrayExample = () => {
  const [click, setClick] = useState([]);

  const addNumber = () => {
    setClick([
      ...click,
      {
        id: click.length,
        value: Math.random() * 10,
      },
    ]);
  };
  return (
    <div>
      <ul>
        {click.map((item) => (
          <li key={item.id}>{item.value}</li>
        ))}
      </ul>
      <button onClick={addNumber}>Click me</button>
    </div>
  );
};

export default ArrayExample;
App.jsx
import './App.css';
import ArrayExample from './ArrayExample';

function App() {
  return (
    <>
      <ArrayExample />
    </>
  );
}

export default App;
Result:
If one needs to deal with multiple types of data at once, the best way to go for is with an object. While the same work can be done with separate state variables, objects make work much more efficient in the long run (also one can make do with fewer useState() declarations).
Initializing State as a Function
In a situation where we need to make a computation of which would best be done within a function. We can initialize a state with a function that returns a value.
ExpComp.jsx
import React, { useState } from 'react';

const expensiveComputation = () => {
  let number = 50;
  let newNumber = (50 % 10) * 10 - number;
  return newNumber;
};

const ExpComp = () => {
  const [calc, setCalc] = useState(() => expensiveComputation());

  return (
    <div>
      <p>{calc}</p>
    </div>
  );
};

export default ExpComp;
App.jsx
import './App.css';
import ExpComp from './ExpComp';

function App() {
  return (
    <>
      <ExpComp />
    </>
  );
}

export default App;
Result:
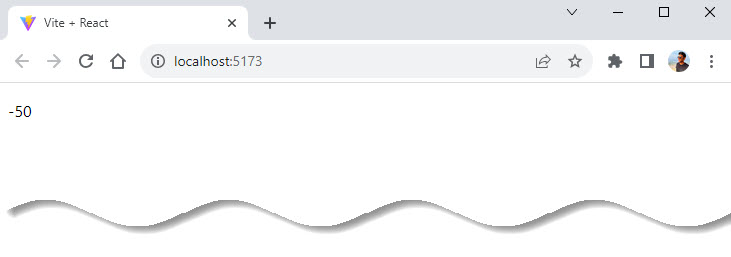
Kindly notice that we created the function outside the component.
Important Things to Know When Using useState Hook
There are two major rules to remember when using hooks, which include useState hook.
Rule 1: ONLY call useState hooks at the top level of your component
This means that within your component, you can only call hooks at the top and not inside any function, loop, nested function, and conditions. This helps React preserve and call hooks in the same order each time a component renders.
// Never do this ❌❌❌❌

if(condition){
    const [count, setCount] = useState()(0);
}

for (let index = 0; index < 25; index++) {
    let [count, setCount] = useState()(0);
}

const nestedFn = () => () => {
    const [count, setCount] = useState()(0);
Rule 2: ONLY call useState hooks inside a functional component
Hooks are created for functional components and should only be used in functional components. They don’t work in class components. If you need to use state in the class component, then use the state object.
Conclusion
Concluding the blog, the useState hook is a powerful tool in React that allows you to add state to components. It provides a simple and consistent way to manage state, and it also allows you to reuse stateful logic across your components.
By understanding the basics of how useState hook works, we can now start building more dynamic and interactive UI with React.
It’s important to remember that the state updates are asynchronous and batched and we can use multiple state variables in a component by calling useState hook multiple times.
By keeping these things in mind, you will be well on your way to mastering state management in React with the useState hook.
So to iterate again, only use the useState hook within a functional component and never use it within a nested function, loop or condition but at the top level of your functional component.


Add comment