
Windows 10 is a great operating system for beginners and professionals alike. Taking a screenshot is one of the most essential features on any platform and Windows is no different.
In this article, I will take you through all the new and old ways to take a screenshot on Windows 10. Along with that, I will share some awesome third-party apps which can save you a lot of hassle while taking a screenshot. So having said that, let’s begin with the native tools first.
Method 1# How to take a screenshot on Windows 10 with the Print Screen (PrtScr) key
The simplest way to save a copy of whatever is on your computer screen is to simply press the “Print Screen” key on your keyboard. It’s usually labeled as PrtScr, PrtScn, PrntScrn, Print Scr, or something similar and is located in the top row.
On most keyboards, the button is usually found between F12 and Scroll Lock. On laptop keyboards, you may have to press the Function or Fn key to access the Print Screen feature.

Take a screenshot without saving the file (Print Screen)
When you press the key, it will look like nothing happened, but the screenshot has been saved to your windows clipboard.
Also Read: How to use Windows 10 new cloud based clipboard
Just paste it wherever you want and the screenshot will be right there. Press Ctrl + V keys to paste the screenshot seamlessly.
If you are wondering what are the use cases of taking a screenshot without saving the file then here is an example.
Say, you want to share a screenshot through an email. In that case, just press the print screen (PrtSrc) key and then paste (Ctrl + V) it in the Compose window. Voila, there you have your screenshot.

Similarly, if you want to edit the screenshot in Microsoft Paint or any image editor, just paste it in the Paint window and you have the image right there, ready to be edited.

Save your screenshot as a file (Windows + Print Screen)
Just press Windows + PrtScr keys at once and a screenshot will be taken instantly. The image will be saved in your User folder. If you are unable to locate it, navigate to the below location to find the image on your Windows 10 PC.
C:\Users\[your user name]\Pictures\Screenshots

Take a screenshot of only one Window (Alt + Print Screen)
To take a quick screenshot of the active window, use the keyboard shortcut Alt + PrtScn. This will snap your currently active window and copy the screenshot to the clipboard. But remember, you will need to open the screenshot in an image editor to save it.
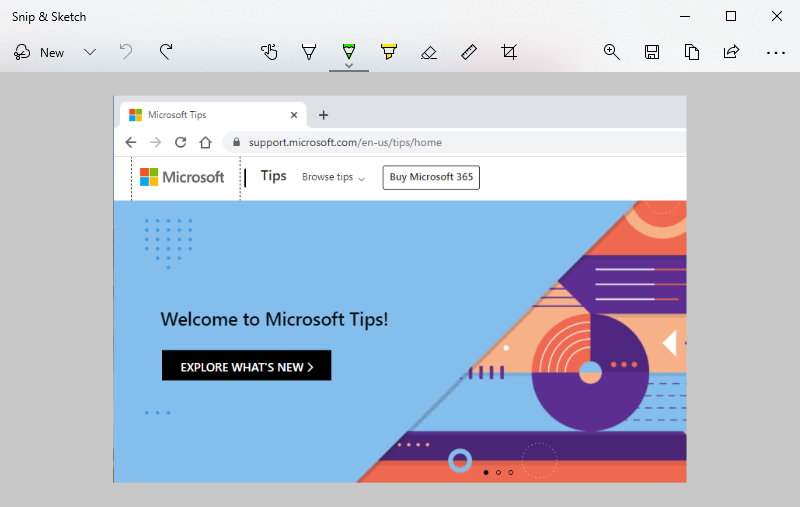
Method 2# How to take a screenshot on Windows 10 with Snip & Sketch
Windows Vista came with built-in screen capturing tool called Snipping Tool. This tool still accessible in Windows 10 but Microsoft has decided to kill this app sooner or later.

In its alternative Microsoft has introduced Snip and Sketch with the latest Windows update. It brings all the functionalities of the Snipping Tool with modern aesthetics and a great shortcut to take screenshots quickly.
Just press Windows + Shift + S keys at once, your screen will appear grayed out and your mouse cursor will change. Click and drag on your screen to select the part of your screen you want to capture.

In addition, you get all the features like free-form snipping, annotation, delay screenshot, borders on image and others. After taking the screenshot, you can annotate, save or share the image directly on social media platforms.
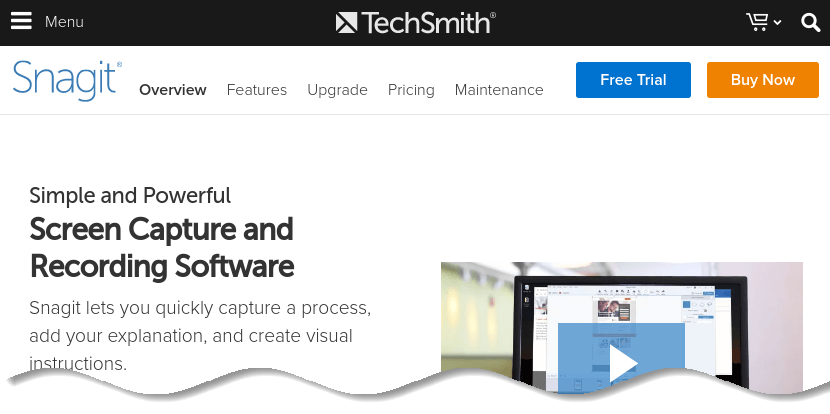
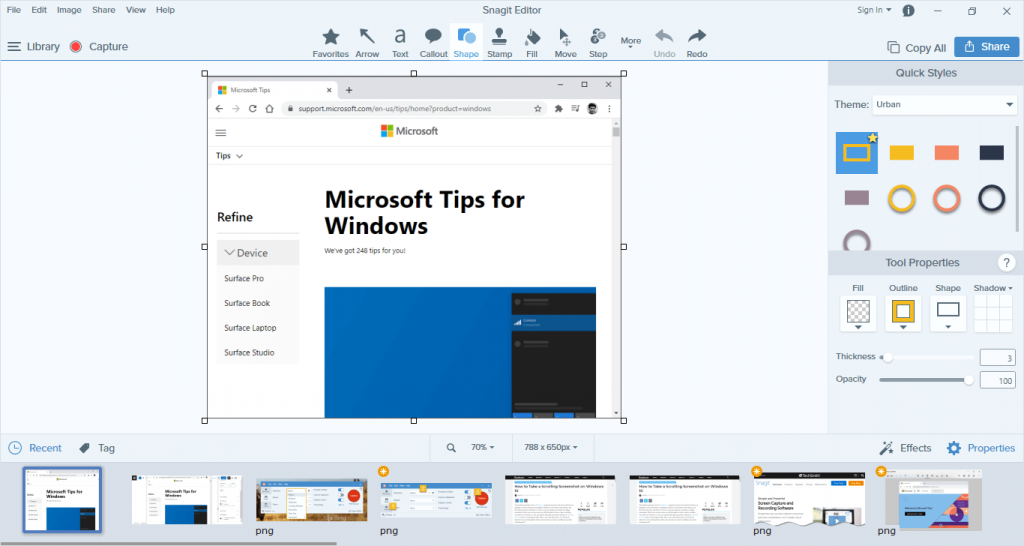
Method 3# How to take a screenshot on Windows 10 with Snagit (Third-party apps – Paid)
All of the Windows 10 built-in methods have their own pros and cons. If you take a lot of screenshots and want more flexibility with even more options (scrolling screen capture, panoramic screenshot and GIFs) than a third-party tool is your best option.
Snagit is a top-notch tool that makes taking screenshots easy, has tons of features that let you target specific windows, take region snapshots, and even capture the full text of scrolling windows like web pages.
Here are the steps which you need to follow while taking a screenshot through Snagit.
Step 1: First, select the Image tab in the capture window.

Step 2: Next, select desired menu (region, window, full screen, scrolling window, panoramic) in the Selection dropdown.
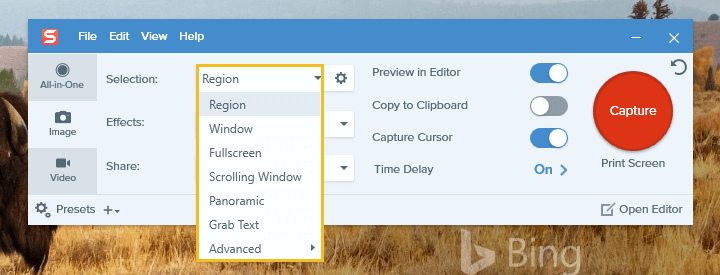
Step 3: Click the Capture button or press PrtScn (Print Screen). Finally, your countdown will begin. Open the desired menu, and move your cursor over the menu to capture.
Method 4# How to take a screenshot on Windows 10 with PicPick (Third-party apps – Free for personal use)
PicPick is a robust screen capture and image editing software developed and owned by NGWIN. The best thing about PicPick is that it’s free for personal use and packs some cool features you won’t find even in the paid programs.

As far as screen capture is concerned, PicPick offers seven screen capture modes: Full screen, active window, window control, scrolling window, region, fixed region, and free hand.

Each of these modes suits different scenarios and can help you customize your screenshots to your liking.
How to take a scrolling screenshot on windows 10
As I mentioned PicPick comes with built-in scrolling window capture feature which lets you capture a scrolling screenshot of a webpage or a document in just a few clicks.
To capture a scrolling window, follow the steps below:
Step 1: Press and hold Ctrl + Alt together, then press Print Screen (PrtScr). A rectangular box highlighted in red will appear.
Step 2: Press and hold the left mouse button, then drag the mouse on the scrolling window to select the area.
Step 3: Release the mouse click and an auto-scroll will happen slowly. After that, your entire window will be captured in just a few seconds.
Knowing how to capture scrolling screenshots can be of great use to you, especially if you are looking into creating some instructional content. Scrolling screenshots can also come in handy when you want to report software issues, as you will be able to point out the issues clearly.
Conclusion
So that was my detailed article on how to take a screenshot on Windows 10 efficiently (free and paid). You can choose any of the methods based on what you find easy to remember and use.
Having said that, my personal favorite remains Snip & Sketch and Snagit app. So that’s all from me. If I missed something or you have a new trick up your sleeves, then let me know in the comment section below. I will be happy to look at it.


Add comment